 Pin It
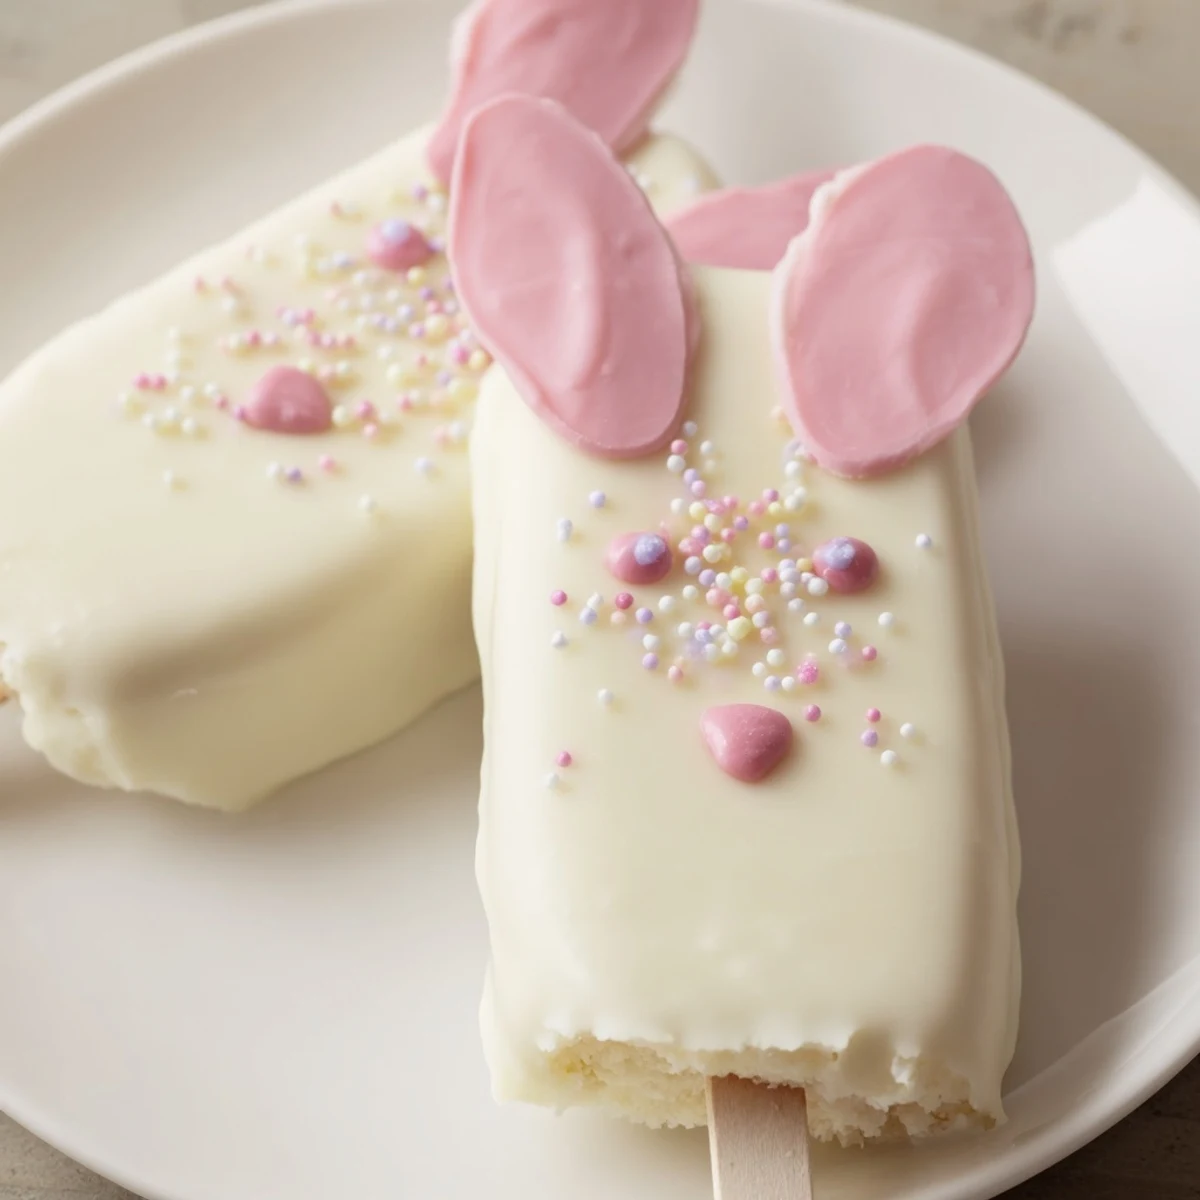
 These delightful bunny cakesicles bring whimsical charm to any Easter gathering. The combination of vanilla cake crumbs blended with cream cheese creates a perfectly moist, fudgy center that holds its shape beautifully on sticks. A smooth white chocolate coating adds creamy sweetness while providing the perfect canvas for decorating with candy eyes, pink noses, and floppy fondant ears. Each handheld treat offers that ideal balance of cake and confection, making them irresistible to both children and adults.
What makes these especially appealing is their versatility—customize the cake flavor, add marbled food coloring effects, or let your creativity shine with unique decorations. They're surprisingly simple to assemble, requiring just 25 minutes of prep time before chilling and dipping. The result is bakery-worthy treats that look impressive yet come together with minimal effort.
These adorable handheld desserts capture the playful spirit of spring while delivering satisfying sweetness in every bite.
The kitchen smelled like vanilla and cream cheese when my daughter asked if we could make bunny shaped treats for her class Easter party. I had never made cakesicles before but the idea of cake on a stick decorated like little bunnies seemed impossible to resist.
We spent that Sunday afternoon covered in sprinkles and white chocolate creating the silliest bunny faces we could imagine. Her classmates loved them so much that making these became our new Easter tradition.
Ingredients
- Vanilla cake crumbs: The base of your cakesicle any leftover cake or cupcakes work perfectly here even store bought
- Cream cheese: Acts as the binder that transforms dry crumbs into a moldable dough
- Unsalted butter: Adds richness and helps the mixture hold its shape beautifully
- Powdered sugar: Provides just enough sweetness without making the mixture too sticky
- Vanilla extract: Deepens the vanilla flavor throughout the cake center
- White chocolate: Creates the smooth luscious coating that makes these treats irresistible
- Edible gel food coloring: Perfect for adding pink noses ears or any colorful details
- Cakesicle sticks: Essential for turning these into handheld Easter treats
- Sprinkles and decorations: Candy eyes fondant ears and colorful sprinkles bring each bunny to life
Instructions
- Mix the cake mixture:
- Combine cake crumbs cream cheese butter powdered sugar and vanilla in a medium bowl mixing until the mixture holds together like soft dough
- Shape your bunnies:
- Divide into 8 equal portions and form each into a flattened oval gently pressing to create the bunny face shape
- Add the sticks:
- Insert a cakesicle stick into each shaped portion pressing carefully to secure then refrigerate for 20 to 30 minutes until firm
- Melt the coating:
- Heat white chocolate in a microwave safe bowl in 30 second bursts stirring between each until completely smooth
- Dip the cakesicles:
- Dip each chilled cake pop into melted chocolate coating completely then tap gently to remove excess
- Decorate immediately:
- Place on parchment lined trays and add candy eyes sprinkles or fondant features while coating is still soft
- Set and finish:
- Let stand at room temperature until firm or refrigerate briefly then add final details with food coloring gel if desired
 Pin It
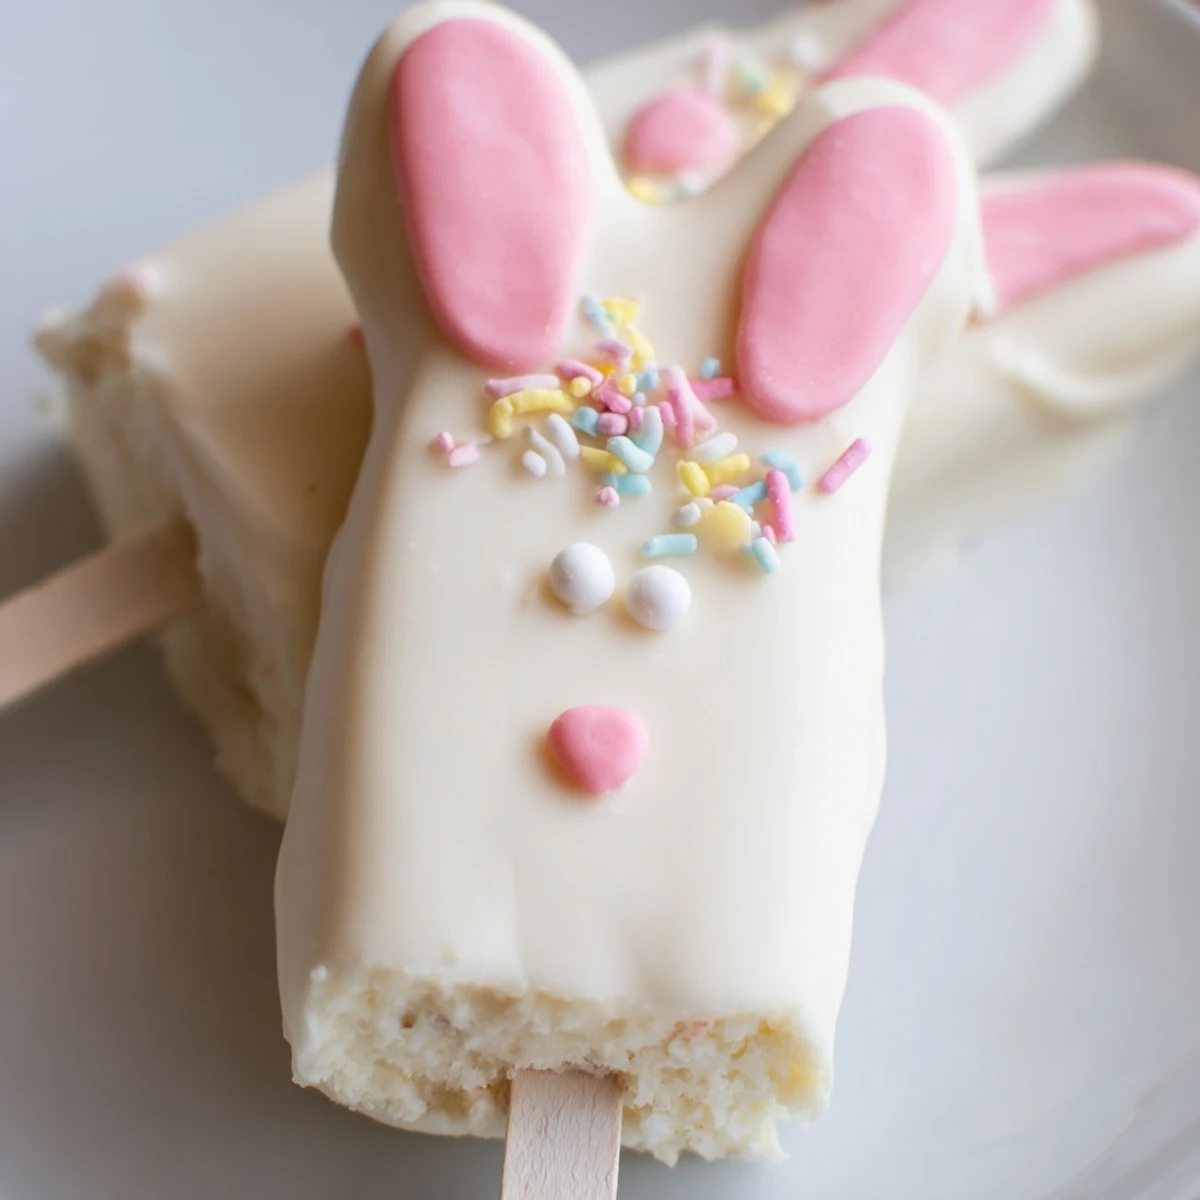
 Every Easter now the kitchen counter becomes a bunny factory with chocolate smeared fingerprints and sprinkles everywhere. These little treats have become more than dessert they are the sweet start to our holiday memories.
Choosing Your Cake Base
While vanilla is classic you can use chocolate lemon or even Funfetti cake crumbs for different flavors. Just ensure the cake is completely stale or dried out slightly so the mixture does not become too moist.
Mastering the Coating
The white chocolate should be warm and fluid but not hot. Working with one cakesicle at a time helps maintain the ideal temperature and prevents streaks in your finished coating.
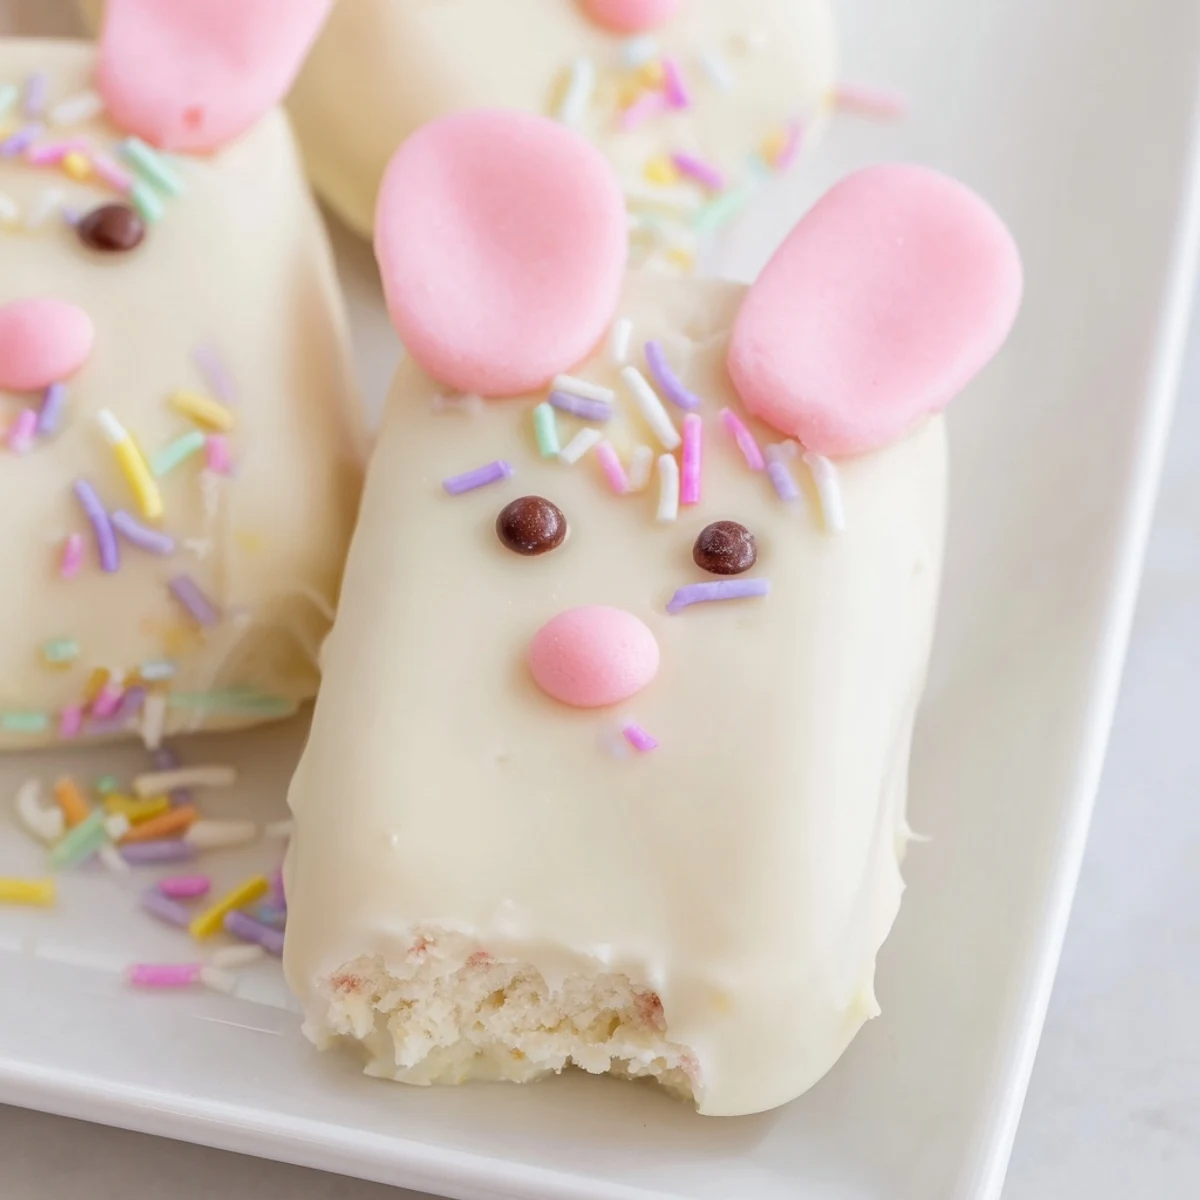
Creative Bunny Decorating Ideas
Simple candy eyes and pink fondant noses create an adorable basic bunny but do not stop there. Try adding royal icing whiskers edible glitter or tiny flower sprinkles for extra Easter charm.
- Pretzel sticks dipped in pink chocolate make darling ears
- Use different colored sprinkles to create unique bunny personalities
- Work quickly once the chocolate starts setting it becomes hard to add decorations
 Pin It
 These white chocolate bunny cakesicles bring such joy to Easter celebrations. Happy creating and may your holiday be filled with sweet moments and sprinkles.
Recipe FAQs
- → How far in advance can I make these bunny cakesicles?
-
You can prepare these up to 3 days ahead when stored properly in an airtight container in the refrigerator. The cake centers hold their texture well, and the white chocolate coating stays fresh and glossy. For best results, add delicate decorations like fondant ears or candy features closer to serving time to prevent any softening or moisture absorption.
- → What other cake flavors work well for the center?
-
While vanilla cake crumbs provide a classic pairing with white chocolate, you can experiment with various flavors. Chocolate cake creates a rich contrast, lemon adds bright spring notes, and strawberry offers fruity sweetness. Red velvet makes a striking presentation when the white coating is slightly translucent. Just ensure your crumbs are finely textured for smooth shaping.
- → Can I use candy melts instead of real white chocolate?
-
Absolutely! White candy melts are often easier to work with since they're formulated to melt smoothly and set quickly without tempering. They provide a clean, sweet flavor that pairs perfectly with the cake center. Candy melts also come in various colors if you want to skip the food coloring step. Just note that the texture will be slightly firmer than traditional white chocolate.
- → Why do my cakesicles keep falling off the sticks?
-
This usually happens when the cake mixture isn't firm enough before dipping, or when the sticks aren't inserted deeply enough. Ensure your shaped cakesicles have chilled for at least 20-30 minutes until completely firm. Insert sticks about halfway into the center, then gently press the cake mixture around the base to secure. If the mixture feels too soft, add another tablespoon of cream cheese to bind it better.
- → What's the best way to achieve smooth white chocolate coating?
-
Melt your white chocolate in 30-second intervals, stirring thoroughly between each burst to prevent overheating and seizing. The ideal temperature is around 90°F (32°C)—warm enough to flow smoothly but not hot. Tap the dipped cakesicle gently against the bowl edge to remove excess coating, then allow any remaining drips to fall off before transferring to parchment. Work quickly once the chocolate reaches proper consistency.
- → Can I freeze these cakesicles for later?
-
Yes, these freeze beautifully for up to 1 month! Place finished cakesicles on a baking sheet and freeze until solid, then transfer to an airtight container with parchment paper between layers. Thaw in the refrigerator for 2-3 hours before serving. Note that some decorations like sprinkles may lose their crunch after freezing, so add those after thawing if possible.