 Pin It
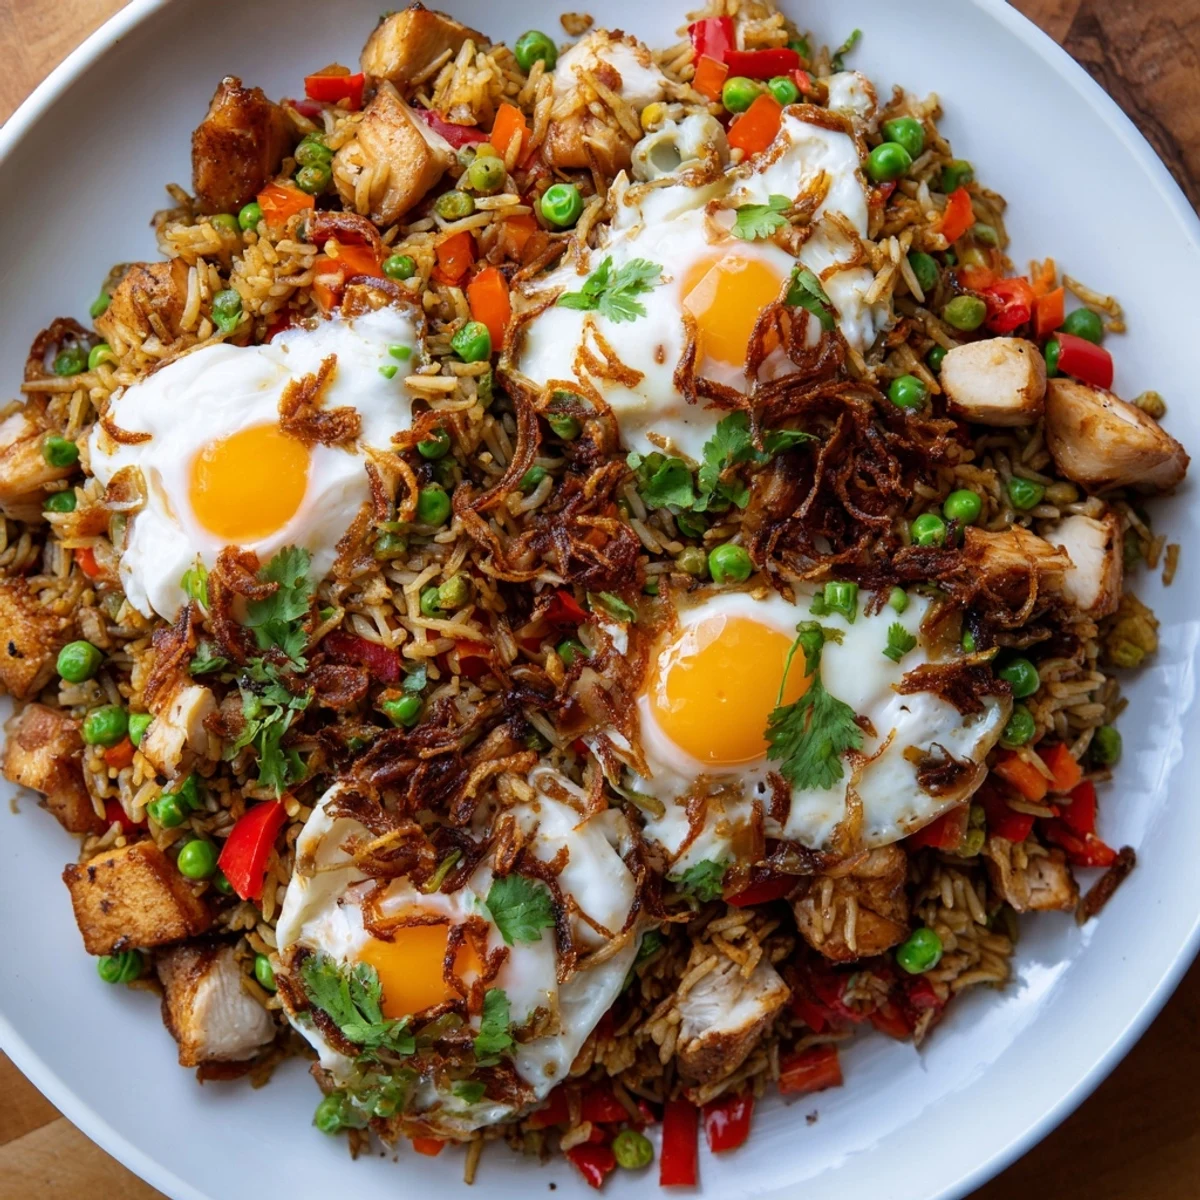
 This oven-baked version of Indonesia's beloved street food classic brings together fragrant long-grain rice, marinated chicken breast, and colorful vegetables in a single tray. The rice cooks directly in aromatic spiced liquid infused with kecap manis, coriander, and cumin, absorbing incredible depth of flavor while becoming perfectly tender. After 30 minutes covered, the dish gets finished with cracked eggs nestled into shallow wells, creating satisfying runny yolks that mingle with the seasoned rice. The result delivers all the complex flavors of traditional stir-fried nasi goreng with minimal hands-on effort—just prep, pour, and bake. Perfect for feeding a family or meal prepping for the week ahead.
The first time I made nasi goreng, I stood over a wok for forty minutes stirring rice in a hot kitchen, sweating through my shirt. When I discovered this tray bake version, I actually laughed out loud. All those incredible flavors developing together in one pan while I sat on my couch with a glass of wine. Sometimes the best discoveries happen when you're too tired to do things the traditional way.
Last winter when my sister came over, exhausted from a new job, I threw this together in ten minutes. We sat cross-legged on the floor eating straight from the tray while watching terrible movies. She asked for the recipe before she even finished her first serving. Now she makes it every Sunday for her week of meal prep.
Ingredients
- Chicken breasts: Cut into even pieces so they cook at the same rate as the rice
- Long-grain rice: Rinse until the water runs clear or you'll end up with gummy rice
- Kecap manis: This thick sweet soy sauce is what gives authentic nasi goreng its caramel depth
- Eggs: Room temperature eggs will cook more evenly in those little wells you create
- Frozen peas: No need to thaw, they'll be perfect by the time the rice is done
Instructions
- Prep your canvas:
- Preheat that oven to 200°C and grab your largest baking tray, the one with the high sides. Give it a quick slick of oil so nothing sticks.
- Season the chicken:
- Toss your chicken pieces with a tablespoon of soy sauce, salt, and pepper until they're well coated. Let them hang out while you prep everything else.
- Build the foundation:
- Spread your rinsed rice across the tray like a blanket. Scatter the onion, garlic, bell pepper, grated carrot, and frozen peas over the top. Gently mix with your hands to distribute everything evenly.
- Make the magic liquid:
- Whisk together the kecap manis, remaining soy sauce, sriracha if you're feeling brave, coriander, cumin, and 700ml of boiling water. Pour it slowly over the tray so every grain gets soaked.
- Assemble and cover:
- Scatter that marinated chicken all over the top. Drizzle with a tablespoon of vegetable oil. Cover the whole thing tightly with foil, creating a little steam chamber.
- The first bake:
- Slide it into the oven for 30 minutes. The rice will absorb all that liquid and cook to perfection while the chicken steams alongside the vegetables.
- Create the egg wells:
- Remove the foil and give everything a gentle stir. Make three shallow indentations in the rice, like little nests. Crack an egg into each one.
- The final golden moment:
- Return to the oven uncovered for 8-10 minutes. Watch those whites turn opaque and the yolks stay gloriously runny while the chicken gets those gorgeous golden edges.
- Finish with flourish:
- Scatter spring onions, crispy shallots, and fresh cilantro over the top. Serve with lime wedges so everyone can squeeze that bright acid over their portion.
 Pin It
 My friend's daughter, who claims to hate vegetables, picked out every single piece of bell pepper and carrot and asked if I could make it with double next time. That's when I knew this recipe was a keeper. Sometimes the best way to get people to love new flavors is to let the oven do the convincing.
Making It Your Own
I've made this with prawns during summer when the heat makes turning on the stove feel unbearable. I've also used tofu for my vegetarian friend, pressing it first so it gets those chewy, almost meaty edges. The beauty of this dish is that it welcomes whatever you have in your fridge.
The Kecap Manis Secret
Once I ran out of kecap manis and tried mixing regular soy sauce with brown sugar as a substitute. It worked, but it lacked that complex molasses depth that makes authentic Indonesian fried rice sing. Now I always keep an extra bottle in my pantry because the difference is undeniable and worth the specialty store trip.
Serving Suggestions
Serve this straight from the tray and let everyone help themselves. It's the kind of dish that brings people together, leaning in to scoop up their portions, eggs breaking and yolks running into the rice.
- Keep extra lime wedges on hand because that acid brightens the whole dish
- Have sriracha on the table for the heat lovers who want an extra kick
- Cool cucumber slices on the side make a refreshing contrast to the spiced rice
 Pin It
 There's something deeply satisfying about a meal that transforms simple ingredients into something that feels special without demanding hours of your attention. This tray bake has become my go-to for those nights when I want comfort without the effort.
Recipe FAQs
- → Can I use cooked rice instead of uncooked?
-
While the method is designed for uncooked rice to absorb the spiced cooking liquid, you can use leftover cooked rice. Reduce the boiling water to roughly 200ml, decrease covered baking time to 15 minutes, and adjust seasonings to taste. The texture will be slightly different but still delicious.
- → What makes kecap manis essential?
-
Kecap manis is Indonesia's sweet soy sauce, thick and molasses-like with deep caramel notes. It provides the distinctive sweet-savory balance that defines authentic nasi goreng. If unavailable, combine regular soy sauce with brown sugar or palm sugar to approximate the flavor profile.
- → How can I adjust the spice level?
-
The sriracha is optional, so omit it for a mild version. For more heat, increase the sriracha, add sliced fresh chilies with the vegetables, or incorporate sambal oelek into the sauce mixture. You can also serve with additional chili sauce on the side.
- → Can I prepare this ahead?
-
Assemble the entire tray up to step 5, cover tightly with foil, and refrigerate for up to 24 hours before baking. You may need to add 5-10 minutes to the covered baking time if starting from cold. Leftovers reheat beautifully in the microwave or oven.
- → What protein alternatives work well?
-
Prawns (shrimp) cook quickly—add them during the last 15 minutes of baking. Firm tofu cubes can be marinated with the chicken seasoning and added from the start. For a meat version, try diced pork belly or shredded rotisserie chicken added in the final 10 minutes.
- → Why is the rice rinsed?
-
Rinsing removes excess starch from the rice grains, preventing them from becoming overly sticky or gummy during baking. This helps maintain distinct, fluffy grains that absorb the aromatic cooking liquid while still separating beautifully.