 Pin It
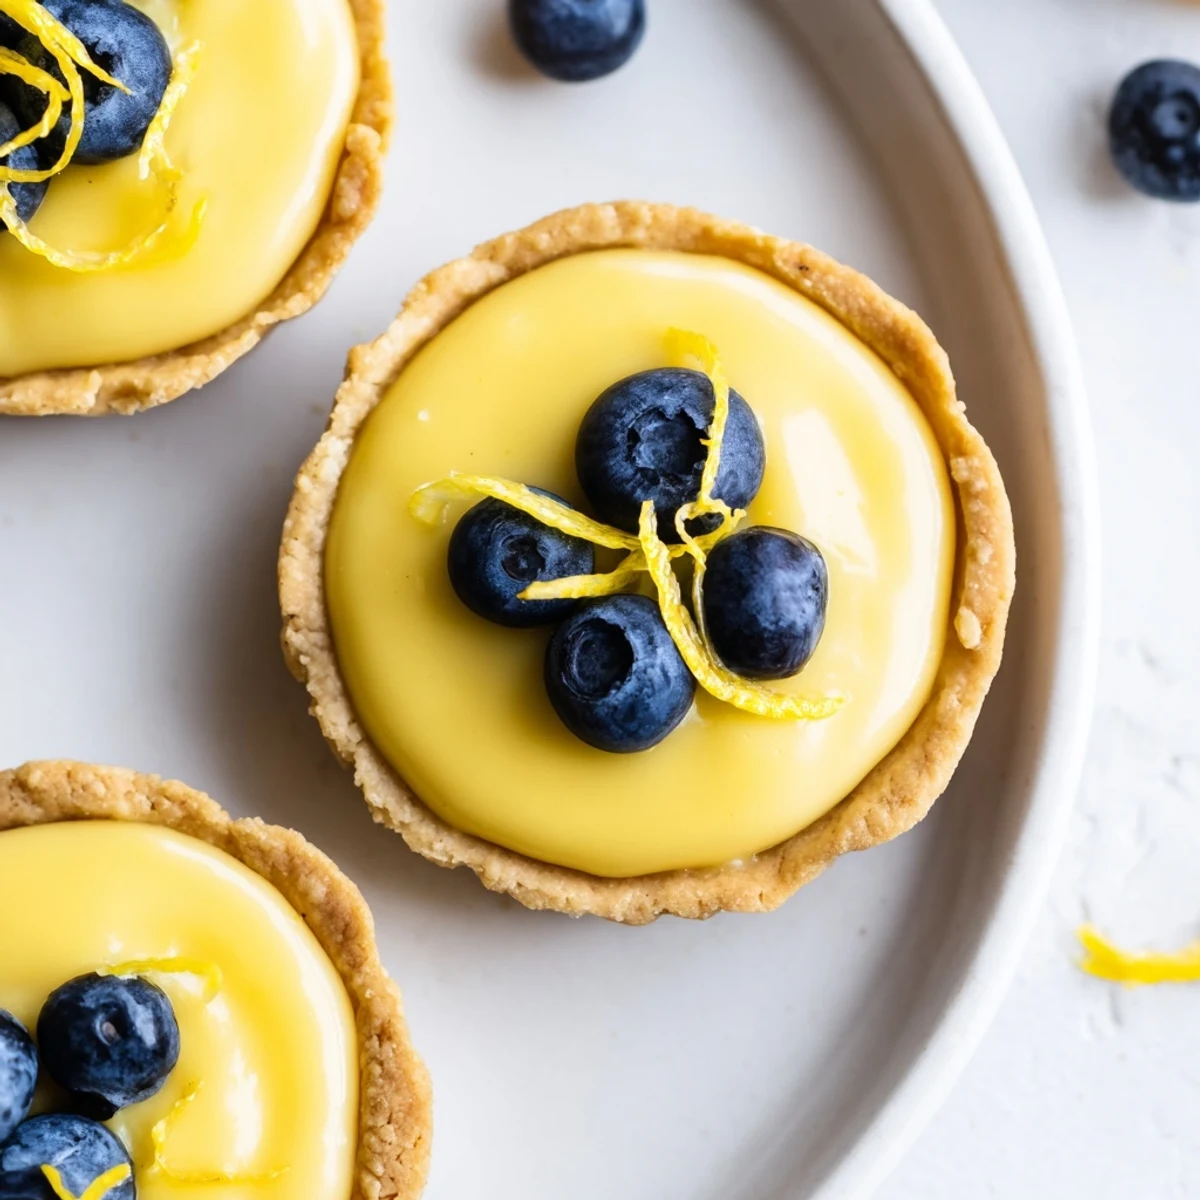
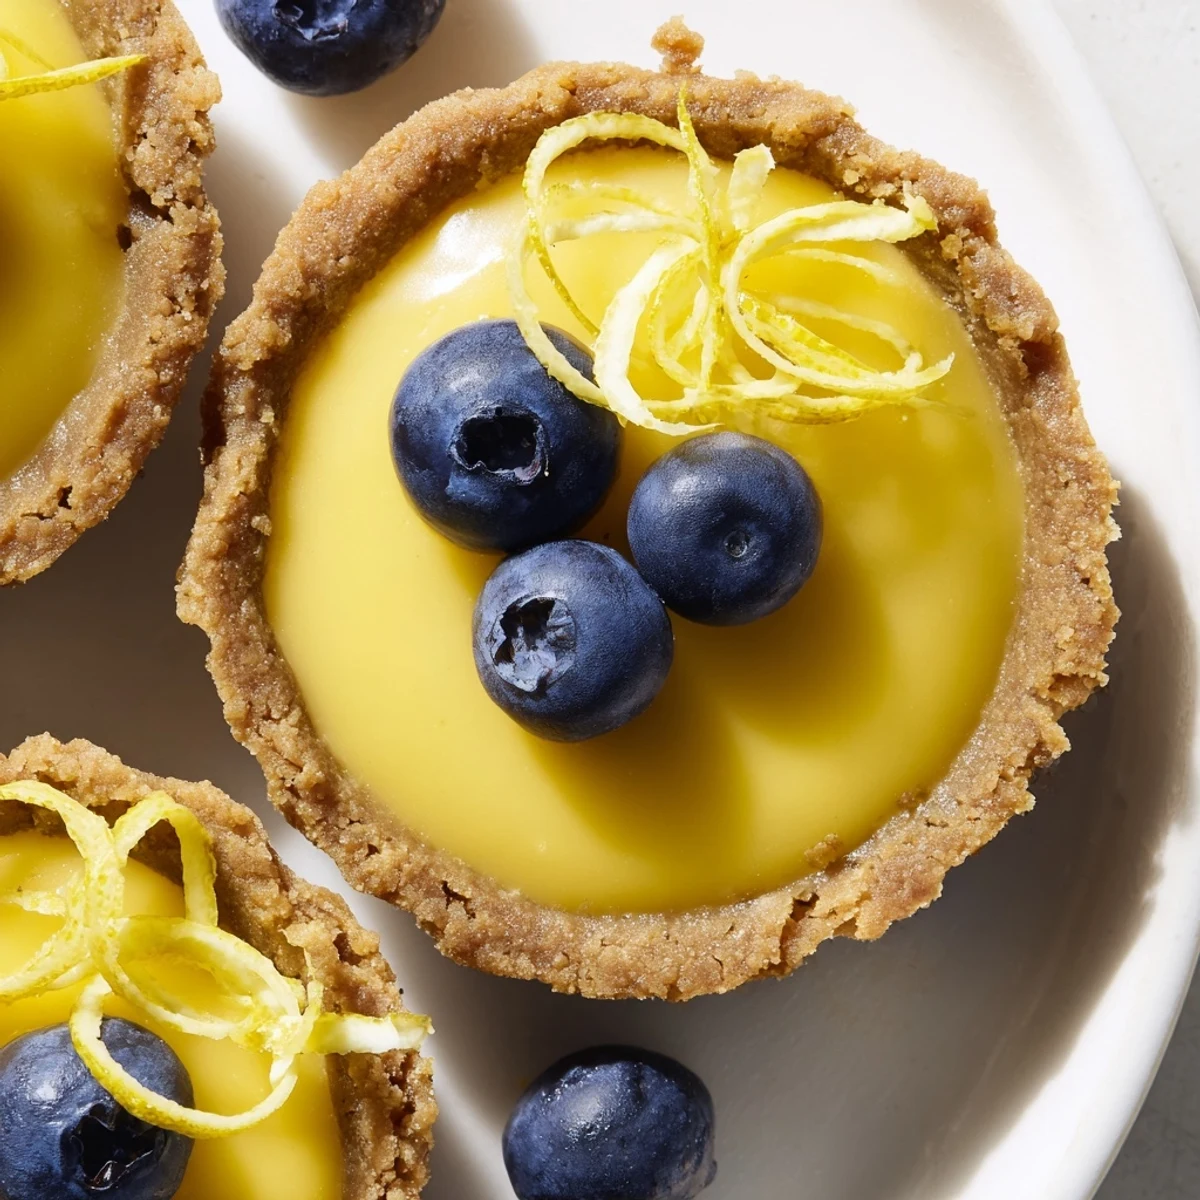
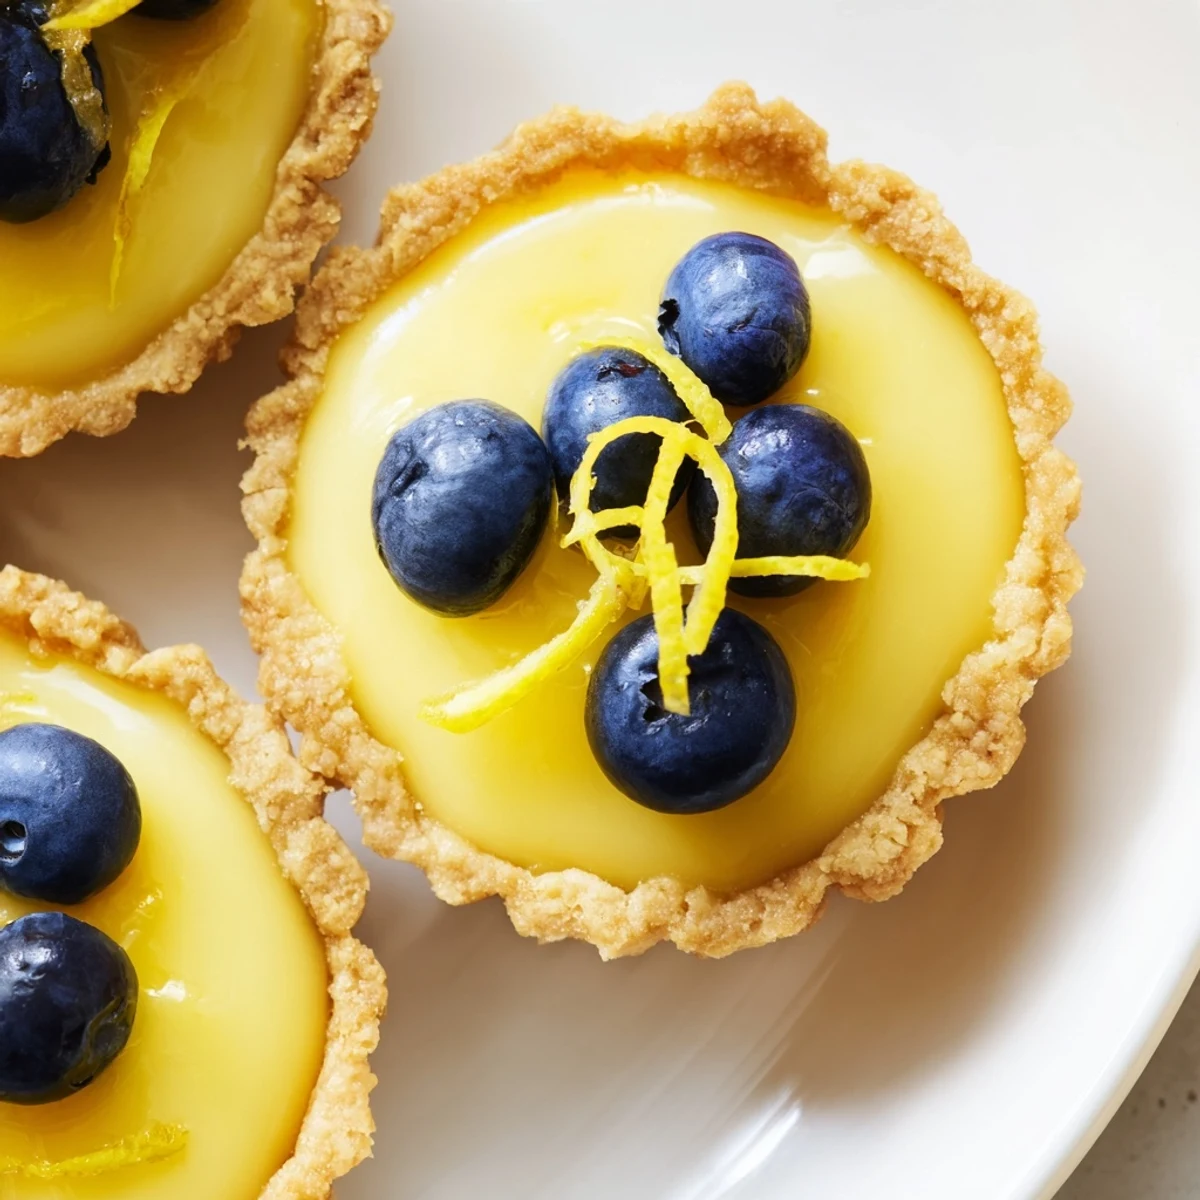
 These elegant mini tarts feature a zesty, creamy coconut-lemon filling nestled in a crisp almond flour crust. The bright citrus flavor balances beautifully with the naturally sweet maple syrup, while turmeric adds a lovely golden hue. Perfect for entertaining or meal prep, these handheld delights come together in under an hour and firm up nicely after chilling.
Summer afternoons growing up meant my grandmother would set tiny porcelain plates on the back patio, each holding something tart and bright. These vegan lemon tarts capture that same feeling but with a creamy, plant-based twist. The first time I made them for skeptical dinner guests, the silence that fell over the table after that first bite said everything.
I hosted a spring brunch last year and made three dozen of these tiny tarts, thinking surely that would be enough. My friend Sarah, who claims she hates dessert, ate four while pretending to help me clean up. Now she texts me every two weeks asking when Ill make them again.
Ingredients
- 1 1/2 cups almond flour: Creates a naturally sweet, gluten-free crust that bakes up golden and holds its shape beautifully
- 3 tbsp coconut oil, melted: The secret to getting that rich, buttery texture without any dairy products
- 2 tbsp maple syrup: Adds just enough sweetness to balance the intense lemon flavor
- Pinch of salt: Dont skip this it makes all the flavors pop
- 1 cup coconut milk: Full fat is non-negotiable here for that luscious, custard-like consistency
- 1/3 cup freshly squeezed lemon juice: Bottled juice will disappoint you every single time
- 1 tbsp finely grated lemon zest: This is where all that fragrant lemon oil lives
- 1/3 cup maple syrup: Sweetens the filling while keeping everything refined sugar-free
- 2 tbsp cornstarch: The magic that transforms liquid into silky, sliceable custard
- 1/4 tsp turmeric: Gives that gorgeous yellow color without any artificial dyes
Instructions
- Get your oven ready:
- Preheat to 175°C (350°F) and lightly grease 8 mini tart pans or a muffin tin with a little coconut oil
- Make the crust dough:
- Combine almond flour, melted coconut oil, maple syrup, and salt in a bowl until a crumbly dough comes together
- Press in the crusts:
- Press the dough firmly and evenly into the bottoms and sides of your tart pans, then prick the bases with a fork
- Bake until golden:
- Bake for 10 to 12 minutes until lightly golden, then remove and let cool completely before filling
- Whisk the filling:
- In a saucepan, whisk coconut milk, lemon juice, lemon zest, maple syrup, cornstarch, turmeric, and salt until completely smooth
- Cook to thicken:
- Place over medium heat, whisking constantly, until the mixture thickens and bubbles, about 6 to 8 minutes
- Cool slightly and fill:
- Let the filling cool for a few minutes, then pour into your cooled tart shells
- Chill until set:
- Refrigerate for at least 1 hour until firm and set
- Add the finishing touches:
- Garnish with fresh berries, thin lemon zest strips, or edible flowers right before serving
 Pin It
 My sister called me at 11 PM the night before her wedding, panicked that she forgot to order dessert. I made sixty of these tarts while crying happy tears on the kitchen floor. The caterer said they were the first thing to disappear.
Making Them Nut-Free
Oat flour works beautifully as a substitute for almond flour if you need to accommodate allergies. The texture becomes slightly more cookie-like, still absolutely delicious. Just press it a bit more firmly into the pans since it doesnt bind quite as well.
Perfecting the Filling
Whisking constantly while the filling heats up is not optional walk away and youll end up with scrambled coconut milk instead of silky custard. The mixture will suddenly transform from thin to thick, almost like magic. Thats your signal to remove it from the heat immediately.
Serving Suggestions
These tarts shine brightest when served chilled but not fridge-cold, about 15 minutes after taking them out. They pair incredibly well with iced herbal tea, especially hibiscus or mint varieties. The contrast between the crisp crust and silky filling is everything.
- A small dusting of powdered sugar right before serving adds lovely elegance
- Add a drop of vanilla extract to the filling for extra depth
- Make them a day ahead for the best texture and flavor
 Pin It
 These little tarts have become my go-to for bringing something bright to any gathering. Theres something magical about watching someones eyes light up at that first perfect balance of sweet and tangy.
Recipe FAQs
- → Can I make these tarts ahead of time?
-
Yes, these tarts actually improve after chilling. You can prepare them up to 2 days in advance and store them covered in the refrigerator. The crust stays crisp and the filling becomes perfectly set.
- → What can I use instead of almond flour?
-
Oat flour or a gluten-free flour blend works well as a nut-free alternative. The texture will be slightly different but still delicious. Just ensure the dough holds together when pressed into the pans.
- → How do I know when the filling is thick enough?
-
The filling is ready when it bubbles and coats the back of a spoon. It should resemble pudding consistency. Remember it will continue to thicken as it cools in the refrigerator.
- → Can I freeze these mini tarts?
-
Yes, freeze them in an airtight container for up to 1 month. Thaw in the refrigerator overnight. The crust may lose a bit of crispness but the flavor remains excellent.
- → Is the turmeric essential?
-
Turmeric is purely for color—it gives the filling that classic lemon yellow hue. You can omit it without affecting flavor, though the filling will appear more ivory-colored.