 Pin It
 Elevate ordinary saltine crackers into an irresistible party snack with just 10 minutes of prep. The tangy dill pickle juice creates an addictive coating that clings to every crispy square, while garlic and onion powder add savory depth.
Simply brush the seasoned butter mixture over crackers and bake until golden and crisp. The result is a crunchy, flavor-packed treat that disappears quickly at gatherings. Store in an airtight container and they'll stay fresh for days.
The smell of dill pickle juice hitting melted butter still takes me back to my first apartment kitchen. I had friends coming over on a Thursday night and absolutely zero budget for real appetizers. A half-empty sleeve of saltines and a jar of pickles later, I had accidentally created something people kept asking for at every gathering since.
My sister started making these for her book club and they vanish faster than any fancy charcuterie board she puts out. Theres something about the transformation plain saltines undergo that feels like magic. People always guess theyre some gourmet cracker from a specialty store.
Ingredients
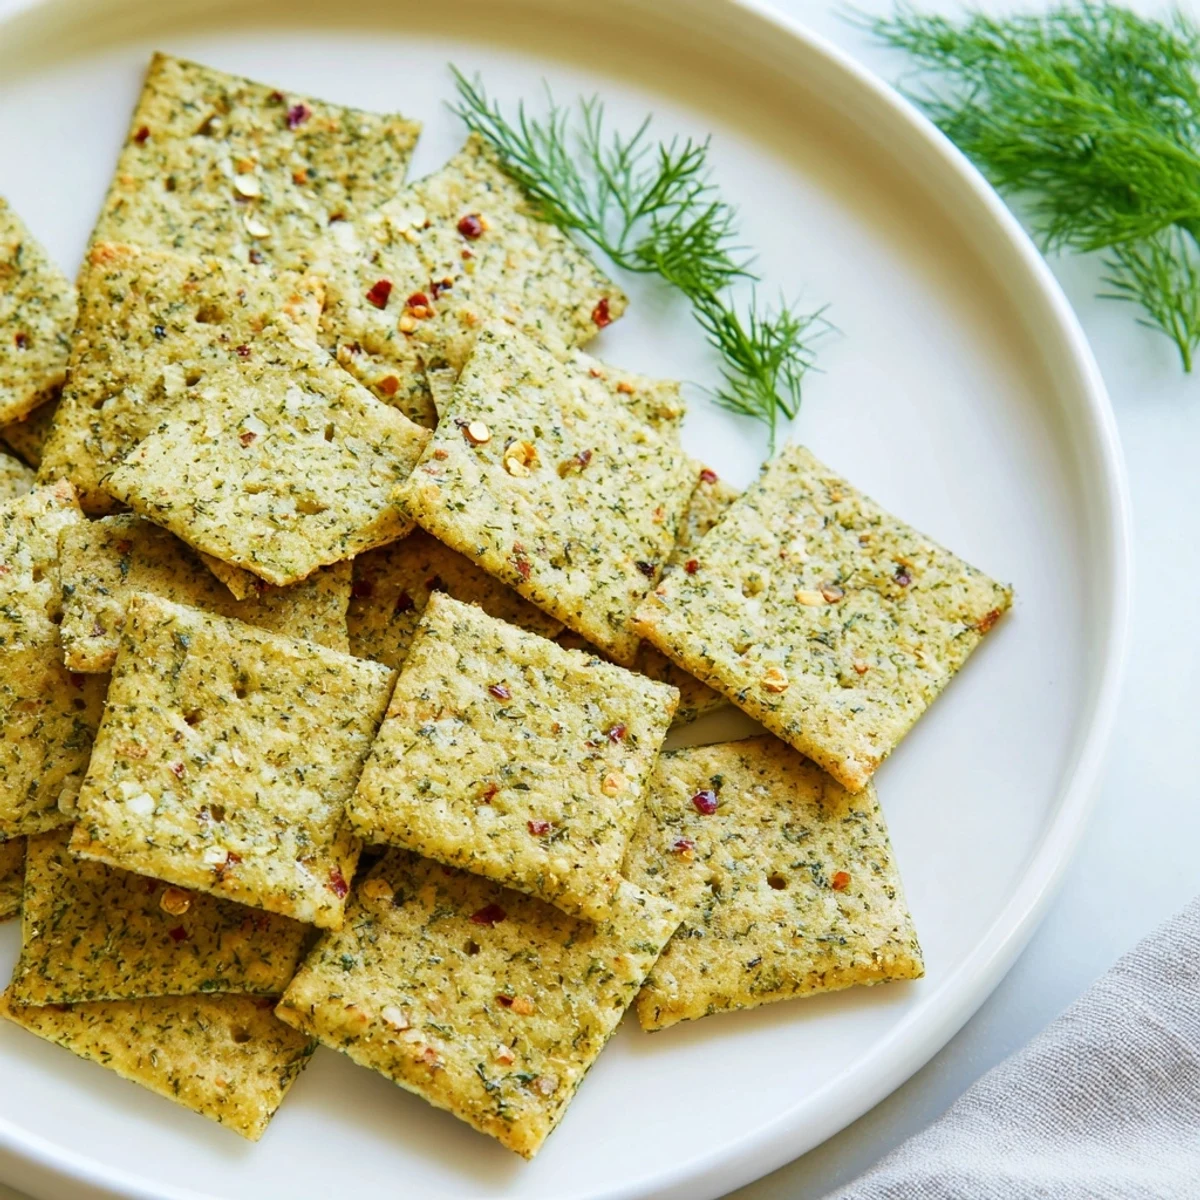
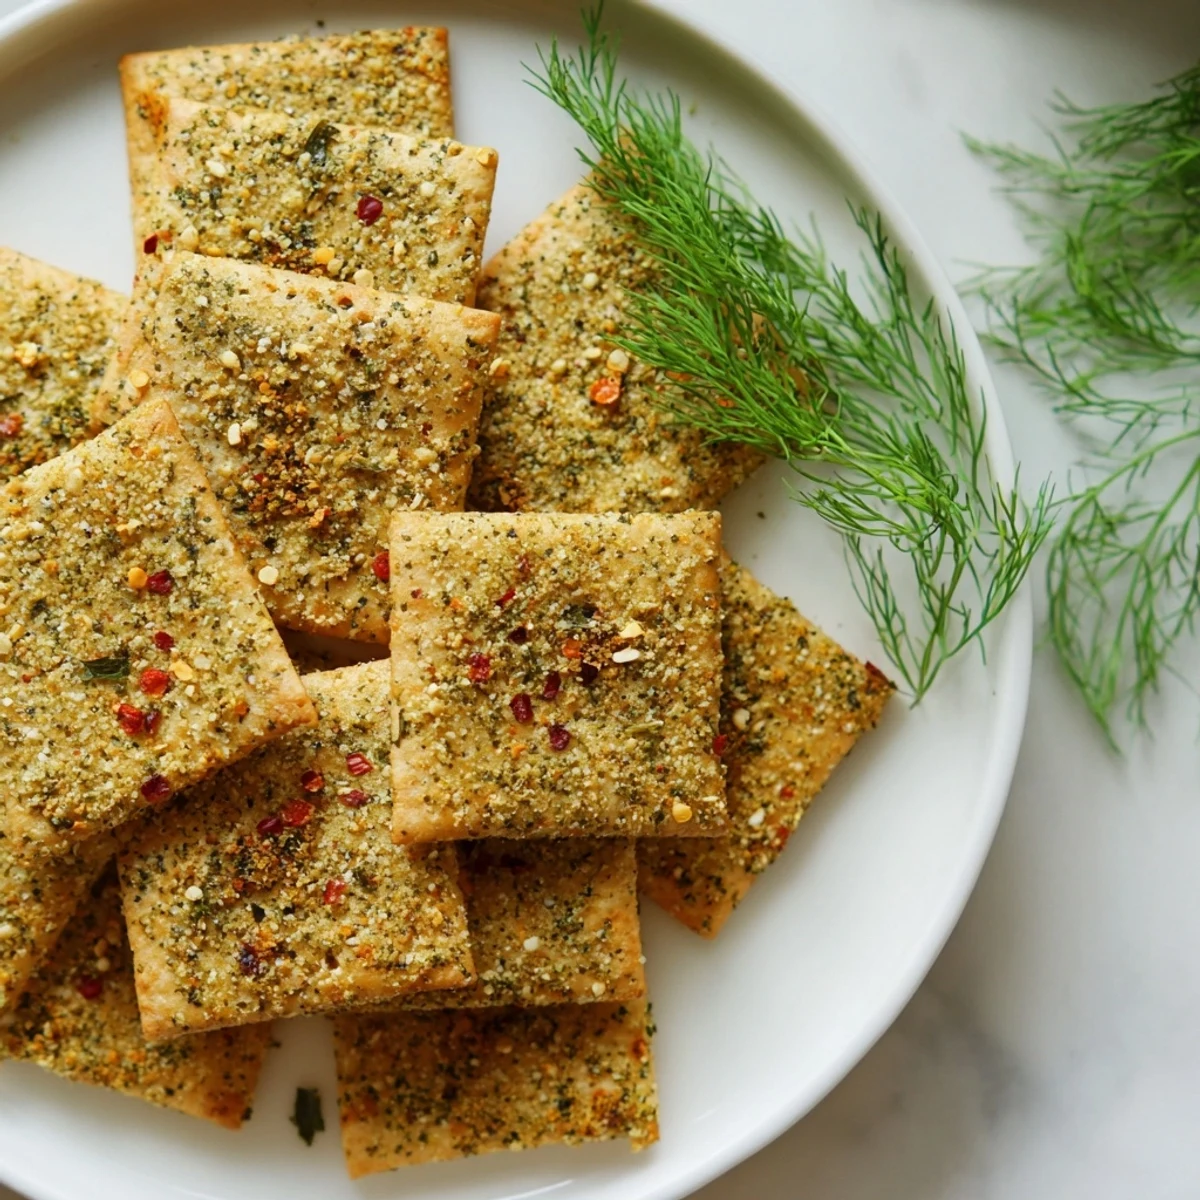
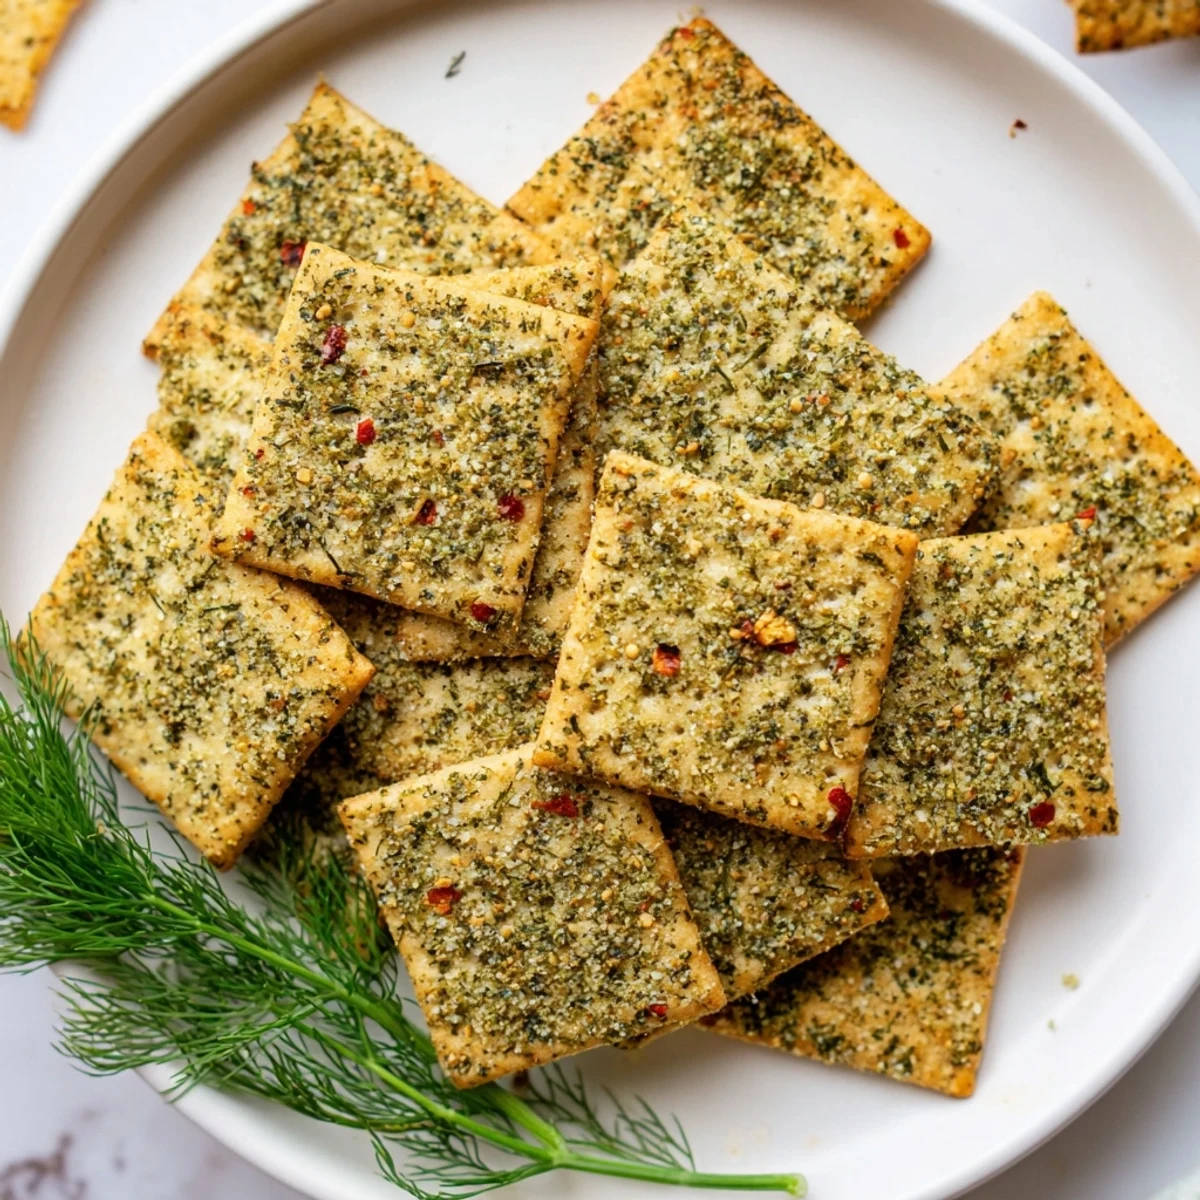
- Saltine crackers: One sleeve gives you about 40 crackers and they hold up beautifully to the butter bath
- Unsalted butter: Melting this creates the perfect carrier for all those dilly flavors
- Dill pickle juice: This is the secret ingredient that makes everything taste like your favorite pickle
- Dried dill weed: Fresh works too but dried distributes more evenly across every cracker
- Garlic powder: Adds that savory depth without any raw garlic harshness
- Onion powder: The unsung hero that brings everything together
- Red pepper flakes: Totally optional but adds the prettiest little kick of heat
Instructions
- Get your oven ready:
- Preheat to 300°F and line a baking sheet with parchment paper because you do not want to clean burnt butter off a pan later
- Arrange the crackers:
- Lay out your saltines in a single layer with no overlapping so every single one gets maximum flavor coverage
- Whisk the magic:
- Combine melted butter, pickle juice, dill, garlic powder, onion powder, red pepper flakes if you are feeling spicy, and salt until smooth
- Coat generously:
- Use a pastry brush or spoon to drench each cracker top with the dill mixture
- Bake to perfection:
- Slide into the oven for 12 to 15 minutes until they are golden and the topping has set into a crunchy coating
- Let them cool:
- This is crucial because the crunch fully develops as they come to room temperature
 Pin It
 These became my go-to contribution for every potluck within weeks of that first accidental batch. Now they are the one thing everyone specifically asks me to bring.
Flavor Variations
Sometimes I toss everything in a large ziploc bag and shake it around instead of brushing. The crackers get more evenly coated that way and it saves so much time.
Serving Ideas
Cold beer is basically mandatory with these. A cold lager or even sparkling water cuts through the butter perfectly.
Storage Success
These actually stay crisp for days if stored in an airtight container. I have made them the night before parties countless times.
- Add parmesan cheese before baking for extra umami
- Try ranch seasoning mixed in for a totally different vibe
- They reheat beautifully at 300°F for 5 minutes
 Pin It
 These little crackers have started more conversations at gatherings than any fancy appetizer I have ever made. Simple is sometimes the most impressive.
Recipe FAQs
- → Can I make these ahead of time?
-
Yes, these saltines store beautifully in an airtight container for up to 3 days. Make them a day before your event for stress-free entertaining.
- → What type of crackers work best?
-
Original saltine crackers provide the perfect crispy base and neutral flavor to let the dill seasoning shine. Avoid butter-flavored varieties as they'll compete with the coating.
- → Can I adjust the spice level?
-
Absolutely. Omit the red pepper flakes for a mild version, or increase to 1 teaspoon for those who enjoy heat. The dill pickle juice provides plenty of tang on its own.
- → What's the best way to coat the crackers?
-
A pastry brush gives the most even coverage, but a spoon works fine too. Just ensure each cracker gets a generous coating of the dill mixture for maximum flavor.
- → Can I use fresh dill instead of dried?
-
Fresh dill works wonderfully—use 2 tablespoons chopped fresh dill in place of 1 tablespoon dried. The bright, herbal flavor really pops when fresh.
- → What beverages pair well with these?
-
Cold beer cuts through the rich butter coating perfectly, or try sparkling water for a non-alcoholic option. The tangy flavor also complements light white wines.