 Pin It
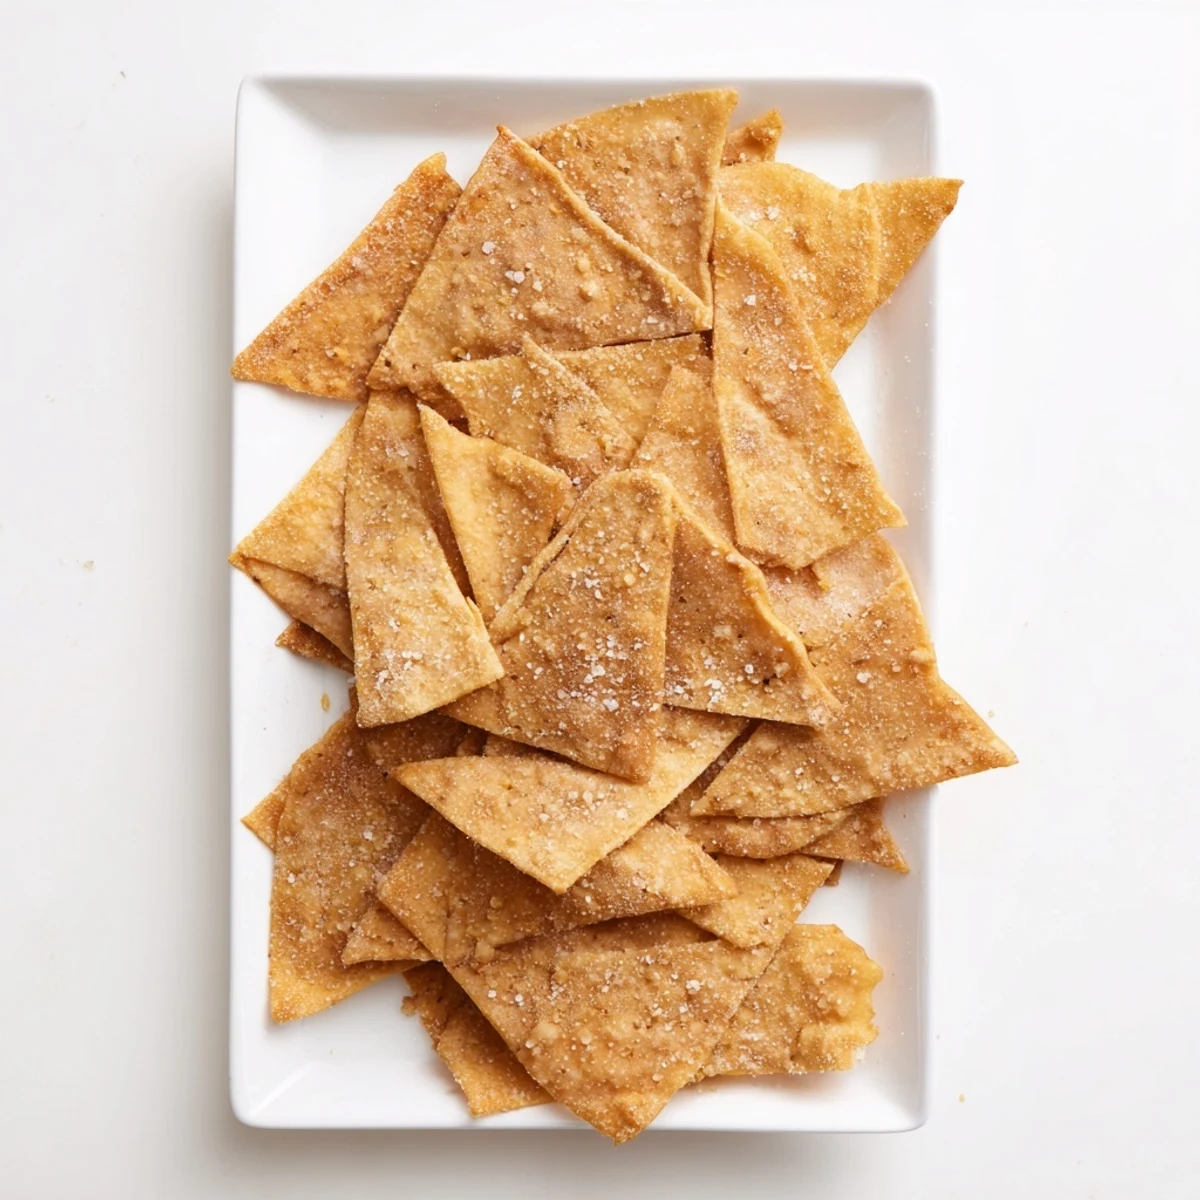
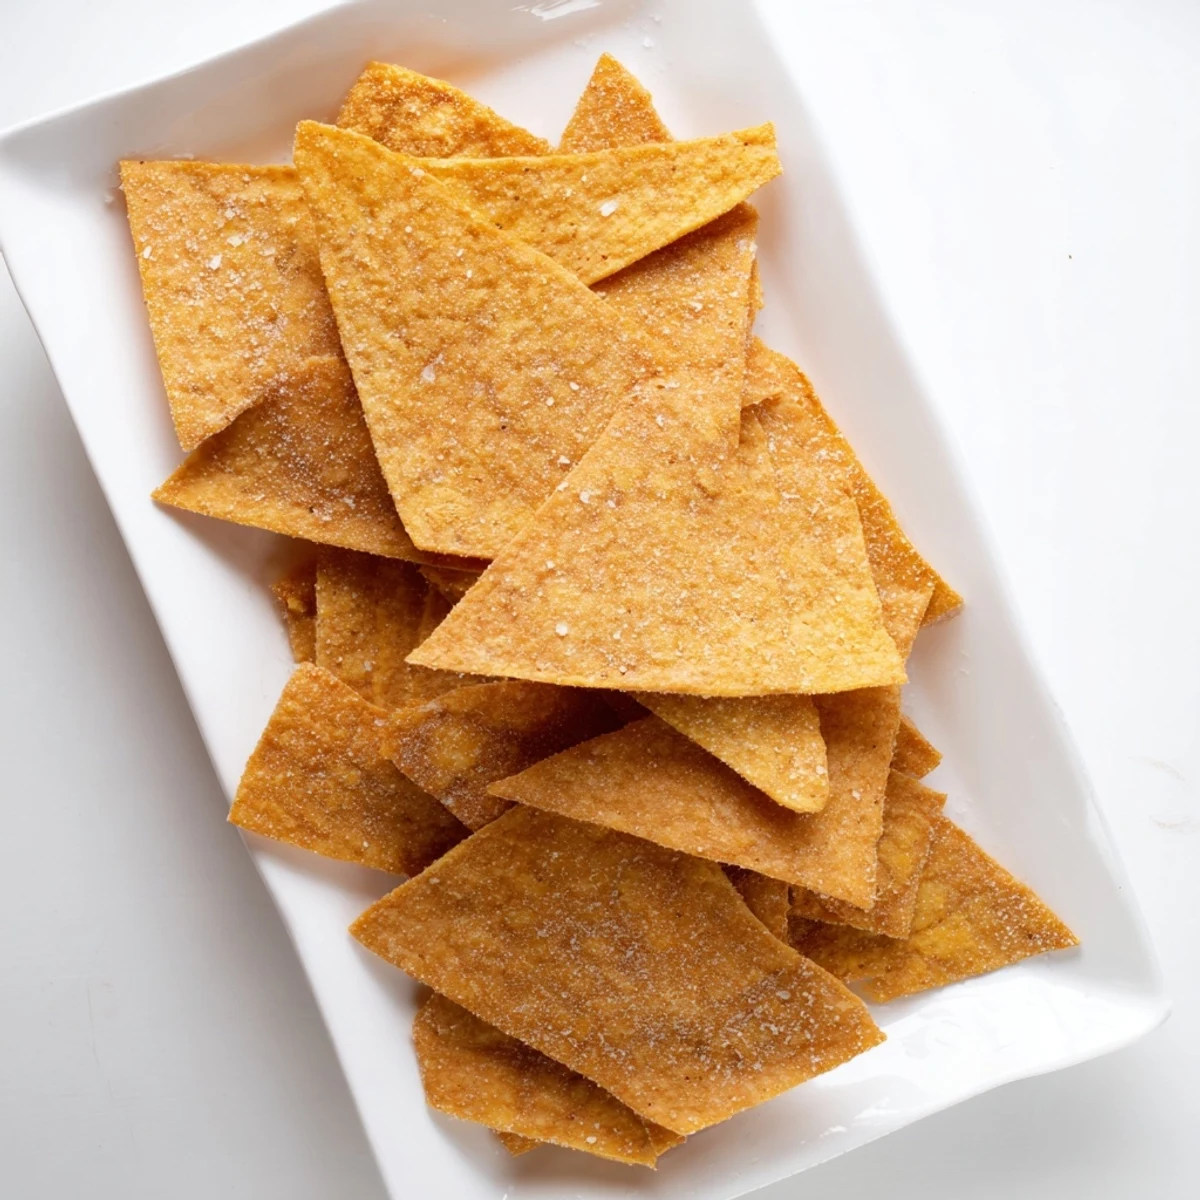
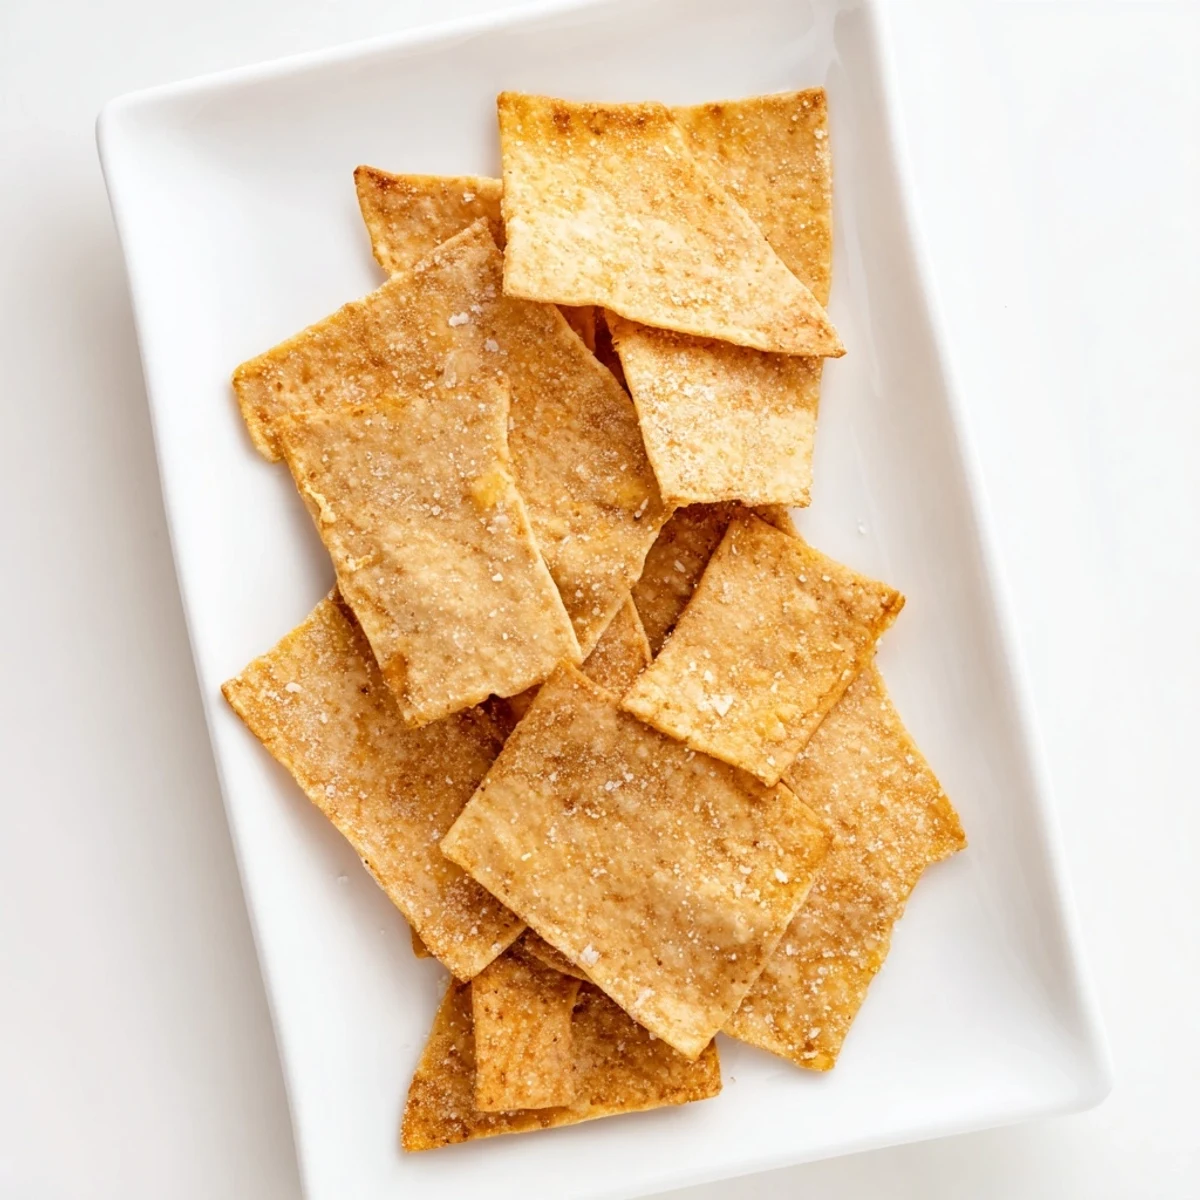
 These crispy chickpea chips deliver satisfying crunch with protein-rich chickpea flour and aromatic spices like garlic powder, smoked paprika, and cumin. The batter spreads thin, bakes until golden, and scores perfectly into chip-sized pieces. Naturally gluten-free and vegan, they offer a wholesome alternative to traditional snacks while maintaining that irresistible crispy texture. Brush with olive oil halfway through baking for extra golden color and enhanced crunch.
The afternoon sun was pouring through my kitchen window when I first attempted chickpea chips, half convinced they would crumble into disappointing dust. I had just returned from the farmers market with a bag of fresh hummus ingredients and wanted something crunchy to go alongside. Three batches later, I finally cracked the method and now these golden crisps have permanently replaced store bought crackers in my pantry.
My neighbor Sandra stopped by unannounced one evening right as I was pulling a tray of these from the oven. She stood in the doorway sniffing the air like a cartoon character floating toward a pie, and within ten minutes we had demolished half the batch standing at the counter.
Ingredients
- 1 cup (120 g) chickpea flour (besan): The soul of this recipe and the reason everything holds together, so find a fresh bag from a store with good turnover.
- 1/2 tsp sea salt: Brings out the nutty character of the chickpea flour without overwhelming it.
- 1/2 tsp garlic powder: Adds a warm savory depth that makes these dangerously snackable even without dip.
- 1/4 tsp smoked paprika (optional): Lends a subtle campfire edge that pairs beautifully with the earthiness of besan.
- 1/4 tsp ground cumin: Just enough to give a gentle warmth and faintly Mediterranean personality.
- 3/4 cup (180 ml) water: Binds the flour into a pourable batter, and the exact amount may need a tiny nudge depending on your flour.
- 1 tbsp olive oil plus 1 tbsp for brushing: The first tablespoon enriches the batter while the second creates that irresistible golden crust on top.
- Sea salt to taste: A final finishing sprinkle while the chips are still warm makes all the difference.
Instructions
- Set the Stage:
- Preheat your oven to 180 degrees C (350 degrees F) and line a baking sheet with parchment paper so nothing sticks when the magic happens.
- Wake Up the Spices:
- Whisk together the chickpea flour, salt, garlic powder, smoked paprika, and cumin in a bowl until evenly combined and fragrant.
- Build the Batter:
- Pour in the water and 1 tablespoon olive oil, then whisk vigorously until you have a silky smooth batter with no stubborn lumps hiding in the corners.
- Spread It Thin:
- Pour the batter onto your prepared baking sheet and use a spatula to spread it into an even layer about 2 to 3 millimeters thick, working quickly before it starts to settle.
- First Bake:
- Slide the tray into the oven for 10 minutes until the surface looks set and slightly dry, then pull it out and brush generously with the remaining tablespoon of olive oil.
- Score and Crisp:
- Use a sharp knife or pizza cutter to score the sheet into chip sized squares or triangles, then return to the oven for another 12 to 15 minutes until deeply golden and crisp at the edges.
- Cool and Break:
- Let the tray cool completely so the chips finish crisping up, then snap them along the scored lines and finish with an extra pinch of sea salt if your heart desires.
 Pin It
 I packed a jar of these in my lunch bag for a hiking trip last spring and they survived three hours in a backpack without shattering, which honestly earned my eternal respect.
What to Dip Them In
These chips were practically designed for hummus but they also hold their own against chunky salsa, tahini drizzle, or a simple swirl of olive oil with zaatar. I once served them alongside a whipped feta dip at a dinner party and three people asked for the recipe before dessert.
Storing Your Leftovers
Keep them in an airtight container at room temperature and they stay crunchy for up to four days, though in my household they rarely last past day two. If they soften slightly, a quick five minute toast in a 160 degree C oven brings them right back to life.
Tools That Make This Easier
You do not need fancy equipment but a few basics will save you headaches.
- A flat edged spatula spreads the batter more evenly than a rounded spoon ever could.
- A pizza cutter scores the sheet faster and with straighter lines than a knife.
- Always use parchment paper rather than greasing the pan directly for the easiest release.
 Pin It
 Once you master this technique, you will start eyeing every spice in your cabinet as a potential chip flavor, and honestly that is a wonderful rabbit hole to fall down.
Recipe FAQs
- → Are chickpea chips gluten-free?
-
Yes, these chips are naturally gluten-free since they're made entirely with chickpea flour (besan) rather than wheat flour. Always verify your chickpea flour is certified gluten-free if you have celiac disease or severe gluten sensitivity.
- → How do I store chickpea chips to keep them crispy?
-
Store cooled chips in an airtight container at room temperature for up to 4 days. Place a paper towel at the bottom to absorb any moisture. If they lose crunch, reheat in a 180°C oven for 3-5 minutes to restore crispiness.
- → Can I make these chickpea chips in an air fryer?
-
Yes, air fryer works well. Pour batter into a greased air fryer-safe pan, air fry at 180°C for 8-10 minutes, brush with oil, score, then flip and cook 4-6 more minutes until crisp. Adjust based on your air fryer model.
- → What spices work best in chickpea chips?
-
Garlic powder, smoked paprika, and cumin create a savory base. Try adding onion powder, nutritional yeast for cheesy flavor, curry powder for warmth, or dried herbs like rosemary and thyme for Mediterranean flair.
- → Why did my chips turn out soft instead of crispy?
-
Soft chips usually mean the batter was spread too thick or underbaked. Aim for 2-3 mm thickness and ensure complete baking—chips should feel dry to the touch before cooling. They crisp further as they cool, so don't underbake.
- → Can I make the batter ahead of time?
-
The batter is best used immediately as chickpea flour thickens quickly when hydrated. If needed, whisk in an extra tablespoon of water after resting. For convenience, measure dry and wet ingredients separately ahead, then combine just before baking.