
 Pin It
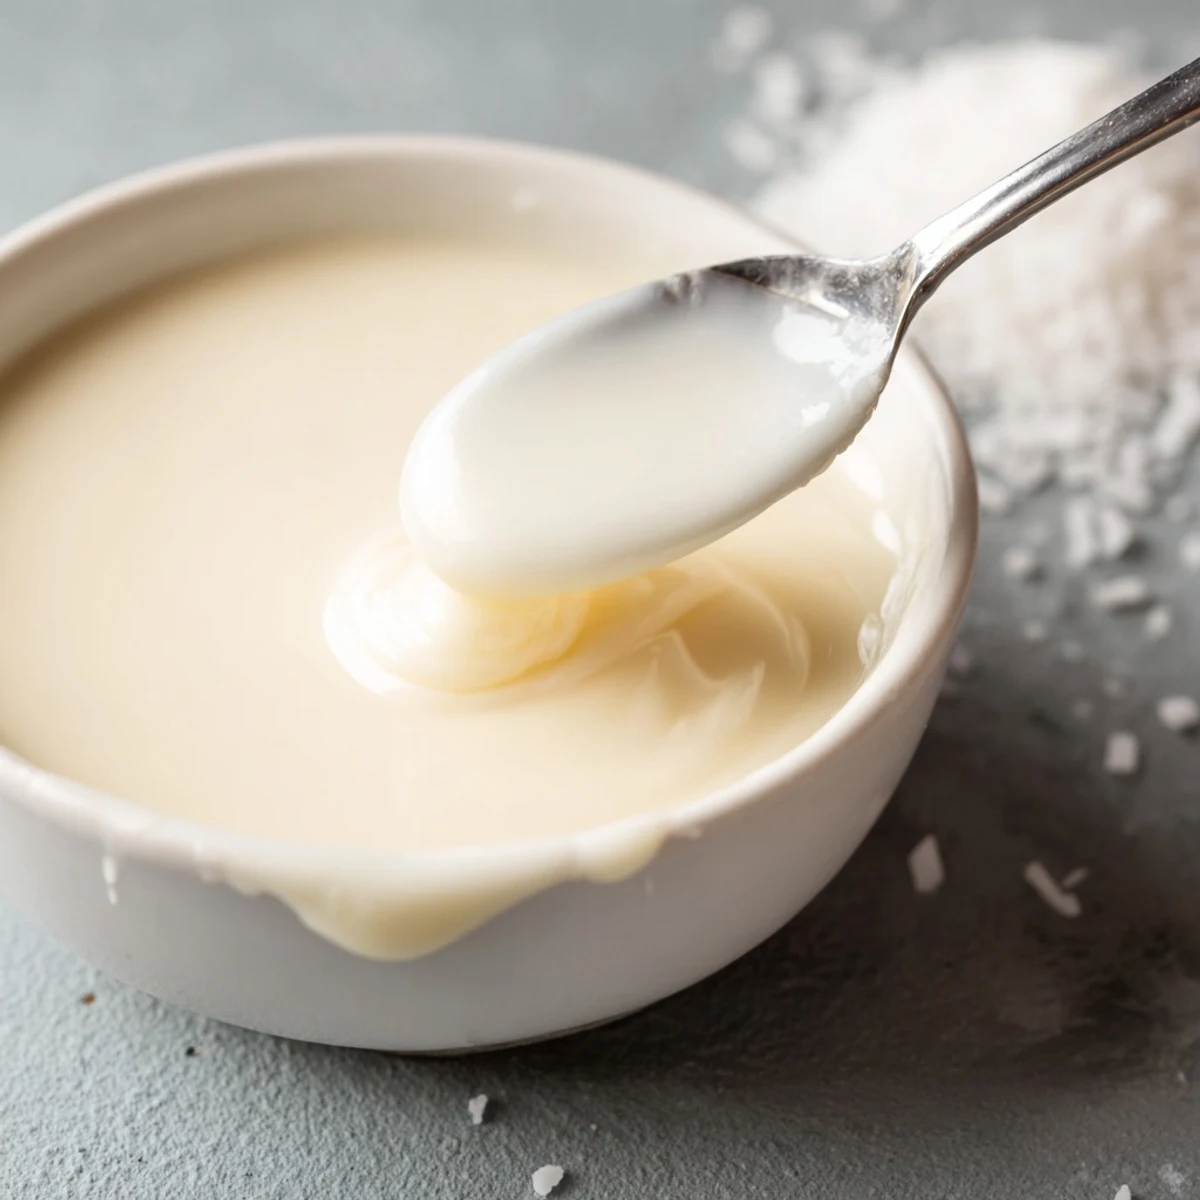
 This condensed coconut milk is a rich, velvety dairy-free alternative that comes together with just four simple ingredients on your stovetop. Full-fat coconut milk and sugar are gently simmered until reduced by half, creating a luxuriously thick, sweet topping.
It works beautifully drizzled over desserts, stirred into coffee, or used as a one-to-one substitute in any dish calling for traditional sweetened condensed milk. The entire process takes about 43 minutes and requires no special equipment beyond a saucepan and whisk.
My coffee routine changed the afternoon a friend who runs a vegan bakery casually mentioned she never buys condensed milk anymore. She just simmers coconut milk with sugar until the kitchen smells like a tropical candy shop. Forty minutes later I was standing over my stove, spoon in hand, watching a humble can of coconut milk transform into something velvet smooth and impossibly rich.
I brought a jar of this to a holiday potluck intending to drizzle it over pie, but people started eating it straight off spoons before dessert even started. My neighbor asked if I had secretly ordered it from a specialty shop. That moment of quiet pride is exactly why I keep making it.
Ingredients
- 1 can (400 ml) full-fat coconut milk: Full fat is nonnegotiable here because the richness and body come directly from the coconut cream, so skip the lite versions.
- Half a cup (100 g) granulated sugar: White sugar keeps the color pale and the flavor neutral, but coconut sugar works beautifully if you want deeper caramel tones.
- 1 pinch of salt: Just a tiny pinch lifts every bit of sweetness and keeps the finished product from tasting flat.
- Half a tsp vanilla extract (optional): I always add it because that warm floral note makes the whole kitchen smell incredible in the final minutes.
Instructions
- Combine and dissolve:
- Pour the coconut milk, sugar, and salt into a medium saucepan over medium heat. Stir frequently until the sugar vanishes completely and the mixture looks smooth and unified.
- Simmer with patience:
- Bring it to a gentle simmer, never a full rolling boil, then drop the heat to low. Let it bubble softly for 35 to 40 minutes, stirring occasionally so nothing catches on the bottom.
- Watch the transformation:
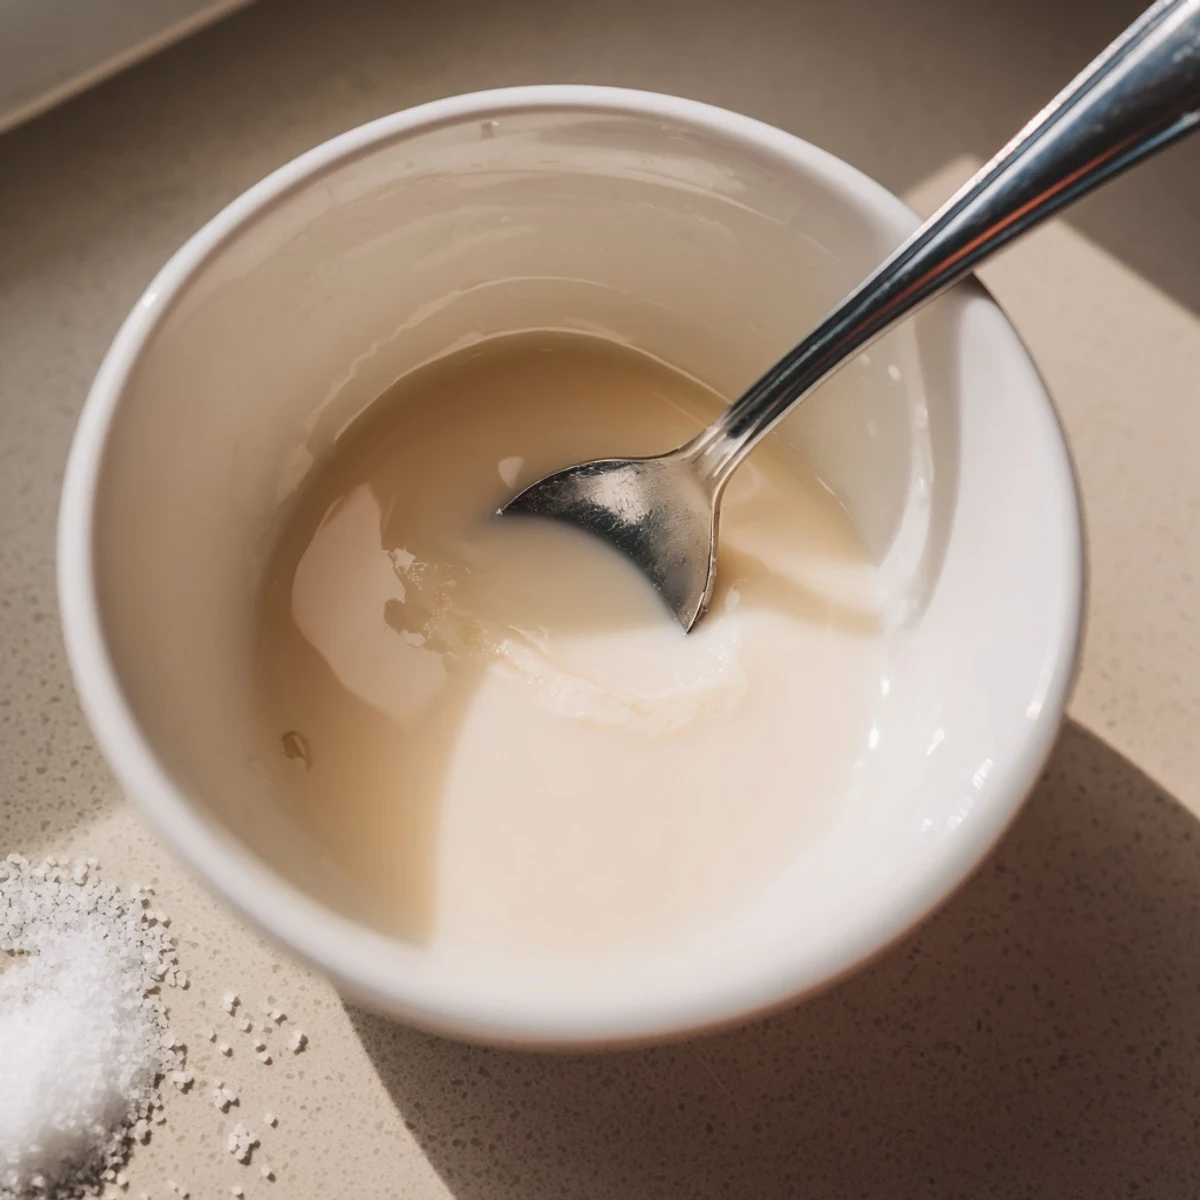
- You will notice the liquid darken slightly and coat the back of your spoon like silk. When it has reduced by roughly half, pull it off the heat.
- Finish and store:
- Stir in the vanilla extract if you are using it, then let it cool completely in the pan. Transfer to an airtight container and refrigerate for up to one week.
 Pin It
 One rainy Sunday I sat at my kitchen table with warm toast and a small bowl of this, listening to the condensation tap against the window. It felt like the kind of simple luxury you cannot buy.
Choosing the Right Coconut Milk
Not every can behaves the same way, and I learned this after grabbing a thin, watery brand on sale that never thickened properly. Look for cans where the ingredient list is short and the contents feel heavy when you shake them. Brands with guar gum as a stabilizer tend to produce a creamier result, which is exactly what you want here.
Creative Ways to Use It
Beyond drizzling over desserts, I stir it into morning oatmeal, swirl it through banana bread batter, and use it as a base for quick no churn ice cream. It also makes an incredible dip for fresh strawberries when you serve it slightly warm. Once you have a jar in the fridge, you will find excuses to put it on everything.
Storage and Make Ahead Advice
This keeps beautifully for a full week refrigerated, though I have never actually made a batch last that long. Separation is completely normal after chilling, so just give it a good stir or warm it gently before using.
- Always use a clean, dry spoon when scooping from the jar to prevent contamination.
- Freezing works in a pinch, but the texture may need a vigorous stir after thawing.
- Label your jar with the date so you remember when it was made.
 Pin It
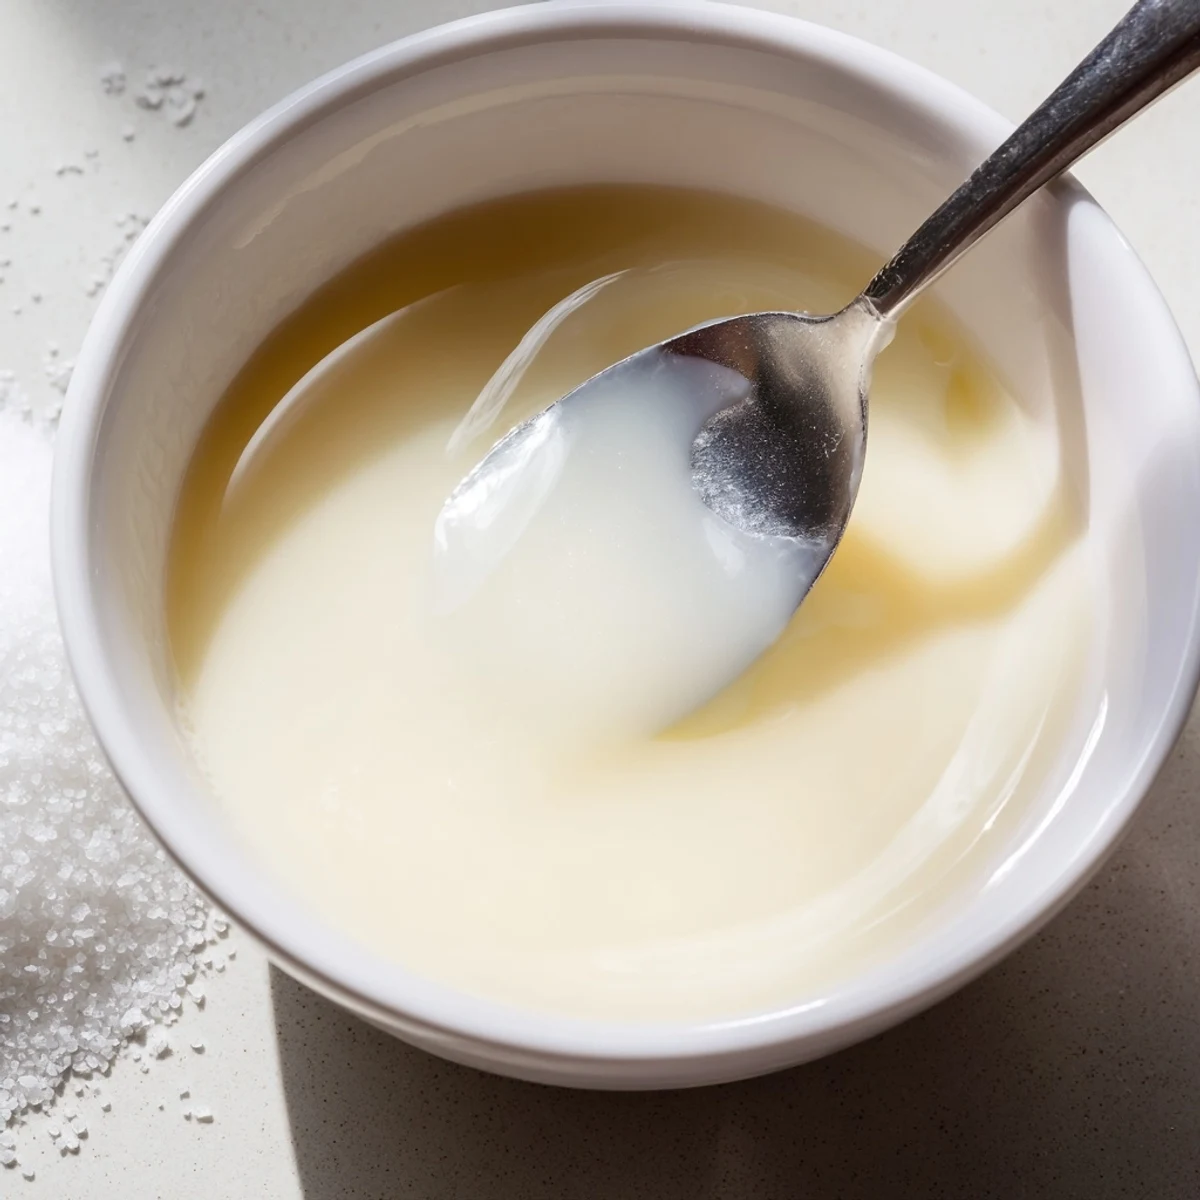
 A jar of this in your refrigerator feels like having a secret weapon for anything sweet. Share it generously, and watch people wonder how you did it.
Recipe FAQs
- → Can I use light coconut milk instead of full-fat?
-
Full-fat coconut milk is strongly recommended because it provides the rich, creamy texture that makes condensed milk thick and luscious. Light coconut milk has too much water content and will not thicken properly, resulting in a thin, watery finish.
- → Why isn't my condensed coconut milk thickening?
-
Thickening requires patience and low heat. Make sure you are simmering gently and never boiling, which can cause separation. The mixture needs a full 35 to 40 minutes to reduce by about half. It will also continue to thicken significantly as it cools.
- → How should I store condensed coconut milk?
-
Transfer it to an airtight container and keep it refrigerated for up to one week. If it separates after chilling, simply stir it well or warm it gently on the stove or in the microwave to recombine everything smoothly.
- → Can I substitute coconut sugar for white sugar?
-
Yes, coconut sugar works well and adds a deeper, caramel-like flavor to the finished product. Keep in mind the color will be darker and the taste slightly richer, which pairs wonderfully with chocolate or warm-spiced desserts.
- → Is condensed coconut milk safe for people with nut allergies?
-
Coconut is classified as a fruit by the FDA, but it is considered a tree nut allergen by some individuals. Always check with a healthcare provider if there is a concern, and read product labels carefully for potential cross-contamination warnings.
- → Can I use this as a direct replacement in baking?
-
Absolutely. This condensed coconut milk can be used as a one-to-one substitute for traditional sweetened condensed milk in pies, bars, cakes, and other desserts. It delivers the same sweetness and moisture with a subtle coconut flavor.