 Pin It
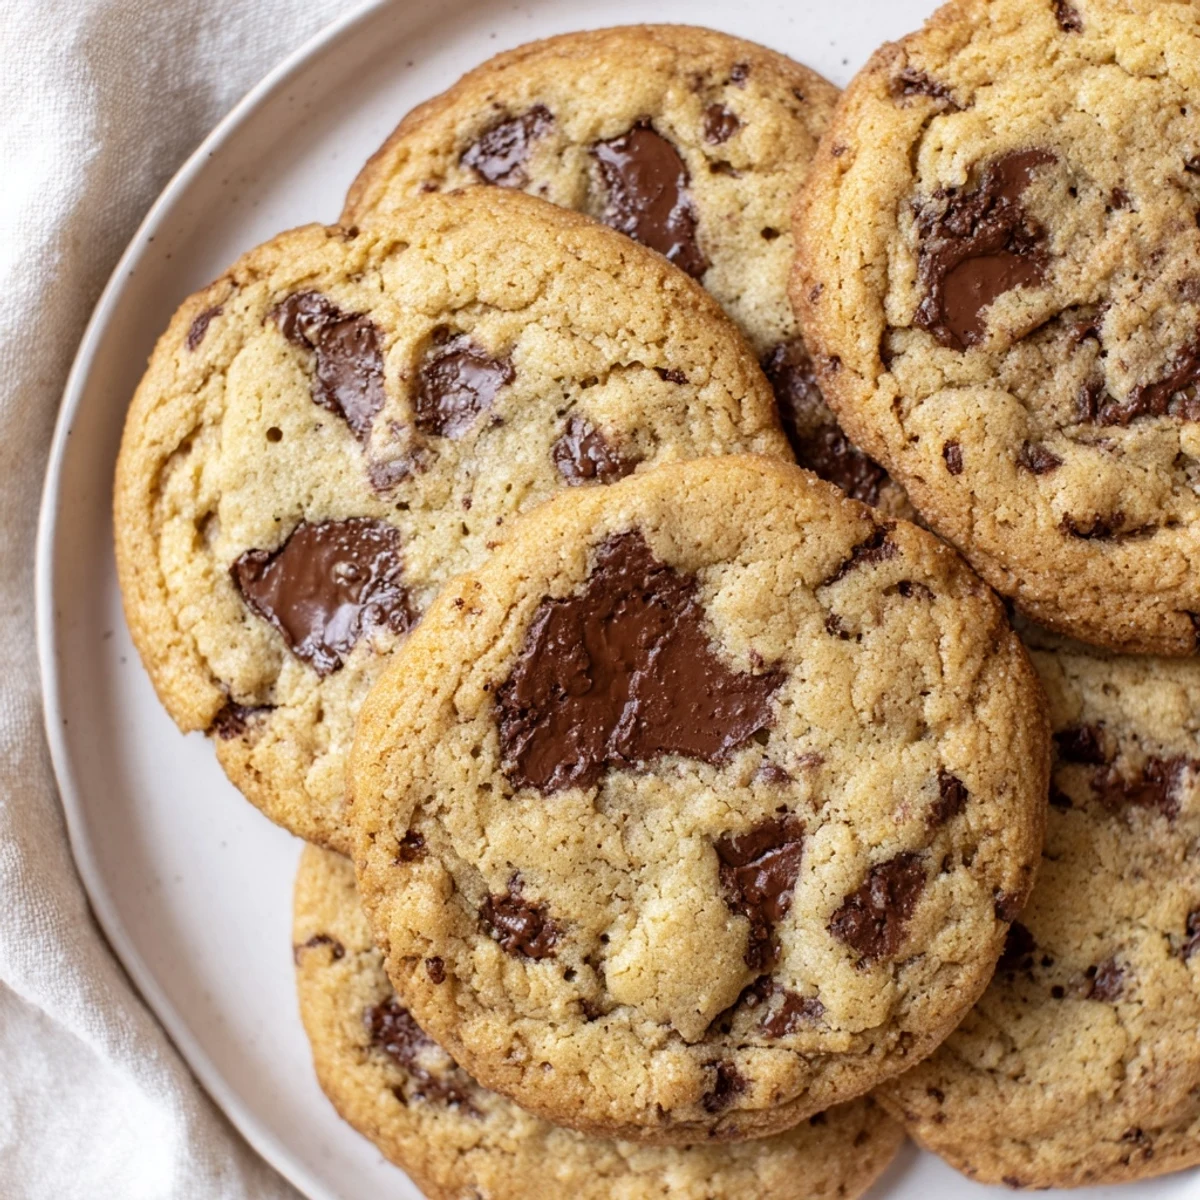
 Create irresistible chewy chocolate chip cookies with soft centers and crisp edges. The secret lies in creaming butter with brown sugar for that perfect texture, while slightly underbaking ensures chewiness.
This classic American treat comes together in just 27 minutes, yielding two dozen decadent cookies. The dough benefits from chilling for extra chew, though you can bake immediately when cravings strike.
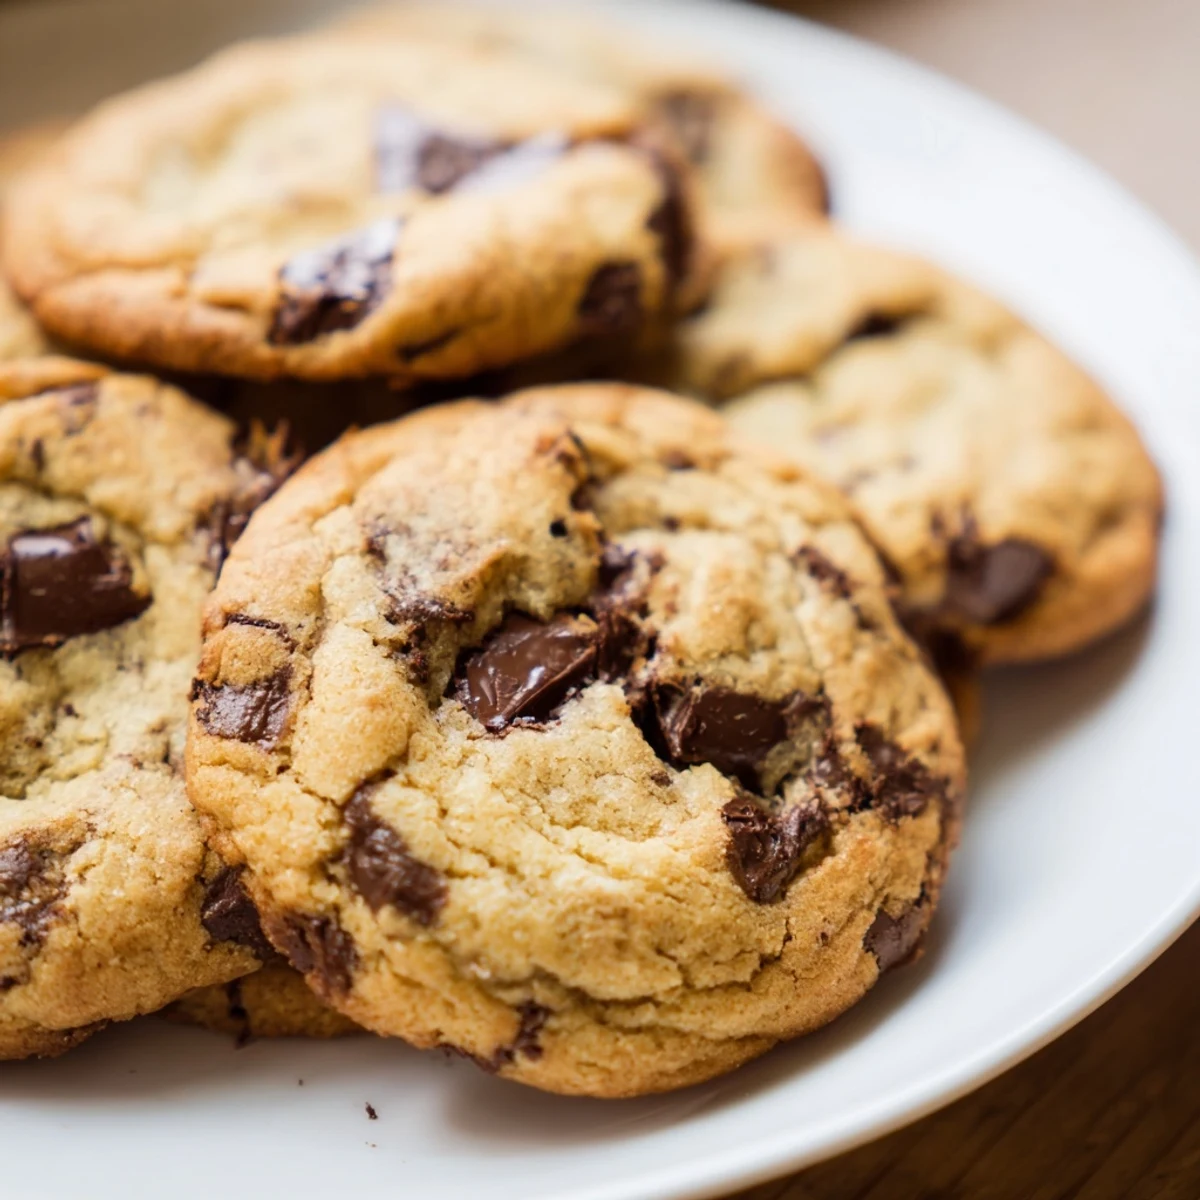
Semi-sweet chocolate chips provide the perfect balance of sweetness against the buttery dough. Try mixing milk and dark chocolate chunks for variation, or finish with flaky sea salt for a sophisticated twist.
The rain was hammering against the kitchen window and I had half a bag of chocolate chips staring at me from the pantry shelf, so I did what any reasonable person would do: I made cookies at ten in the morning on a Tuesday. There is something deeply satisfying about the sound of butter and sugar creaming together that makes everything else quiet. These chewy chocolate chip cookies are the result of years of tweaking ratios until the edges crisp just enough while the centers stay pillowy and soft. They have never once let me down.
My neighbor knocked on the door the first time I baked these, claiming she could smell them from her driveway. We ended up sitting on my kitchen floor with mugs of coffee, splitting an entire sheet of still warm cookies while her dog tried to lick the chocolate off our fingers.
Ingredients
- Unsalted butter (1 cup, softened): Butter that is truly at room temperature creams properly with sugar and creates those beautiful little air pockets that make cookies tender.
- Packed brown sugar (1 cup): The molasses in brown sugar adds moisture and depth of flavor that white sugar alone simply cannot replicate.
- Granulated sugar (1/2 cup): A blend of both sugars gives you the best of both worlds, chew from the brown and slight crisp from the white.
- Large eggs (2): Eggs bind everything together and contribute to the rich, cakey interior texture.
- Pure vanilla extract (2 tsp): Do not skimp on vanilla here because it rounds out the chocolate flavor and makes everything taste more complex.
- All-purpose flour (2 1/4 cups): Measure by spooning into the cup and leveling with a knife, because packed flour leads to dense, dry cookies.
- Baking soda (1 tsp): This is your leavening workhorse that helps the cookies spread and puff during baking.
- Baking powder (1/2 tsp): A small amount gives the cookies a slight lift and keeps them from spreading too flat.
- Fine salt (1/2 tsp): Salt is not optional because it balances the sweetness and makes the chocolate taste more like chocolate.
- Semi-sweet chocolate chips (2 cups): Semi-sweet hits the sweet spot between too sweet and too bitter, and they hold their shape beautifully in the oven.
Instructions
- Get the oven ready:
- Preheat your oven to 350°F and line two baking sheets with parchment paper so nothing sticks and cleanup is effortless.
- Cream the butter and sugars:
- Beat the softened butter with both sugars in a large bowl until the mixture turns pale, fluffy, and smells like caramel, about three to four solid minutes.
- Add eggs and vanilla:
- Drop in the eggs one at a time, beating after each addition, then pour in the vanilla and mix until everything looks smooth and glossy.
- Whisk the dry ingredients:
- In a separate bowl, whisk together the flour, baking soda, baking powder, and salt so the leavening is evenly distributed throughout.
- Bring it all together:
- Gradually add the dry mixture to the wet ingredients, stirring gently until the flour just disappears into the dough, because overmixing makes tough cookies.
- Fold in the chocolate:
- Use a spatula to fold in the chocolate chips until they are scattered evenly throughout every inch of the dough.
- Scoop and shape:
- Scoop rounded tablespoonfuls onto the prepared baking sheets, leaving about two inches of space between each mound so they have room to spread.
- Bake to golden perfection:
- Bake for 10 to 12 minutes until the edges are golden and the centers still look slightly soft and underbaked, which is the key to chewiness.
- Cool with patience:
- Let the cookies rest on the baking sheet for five minutes before moving them to a wire rack, because they will continue to set as they cool.
 Pin It
 One holiday season I wrapped stacks of these in cellophane with red twine and gave them as gifts, and three separate people texted me within a week asking for the recipe.
Tools That Make This Easier
An electric mixer saves your arm when creaming butter and sugar, though a wooden spoon and determination work too if that is all you have. A cookie scoop ensures every cookie is the same size, which means they all bake evenly and you do not end up with some burnt and some raw. Parchment paper is genuinely non-negotiable because it prevents sticking and makes transferring the cookies feel graceful instead of chaotic.
Playing With the Recipe
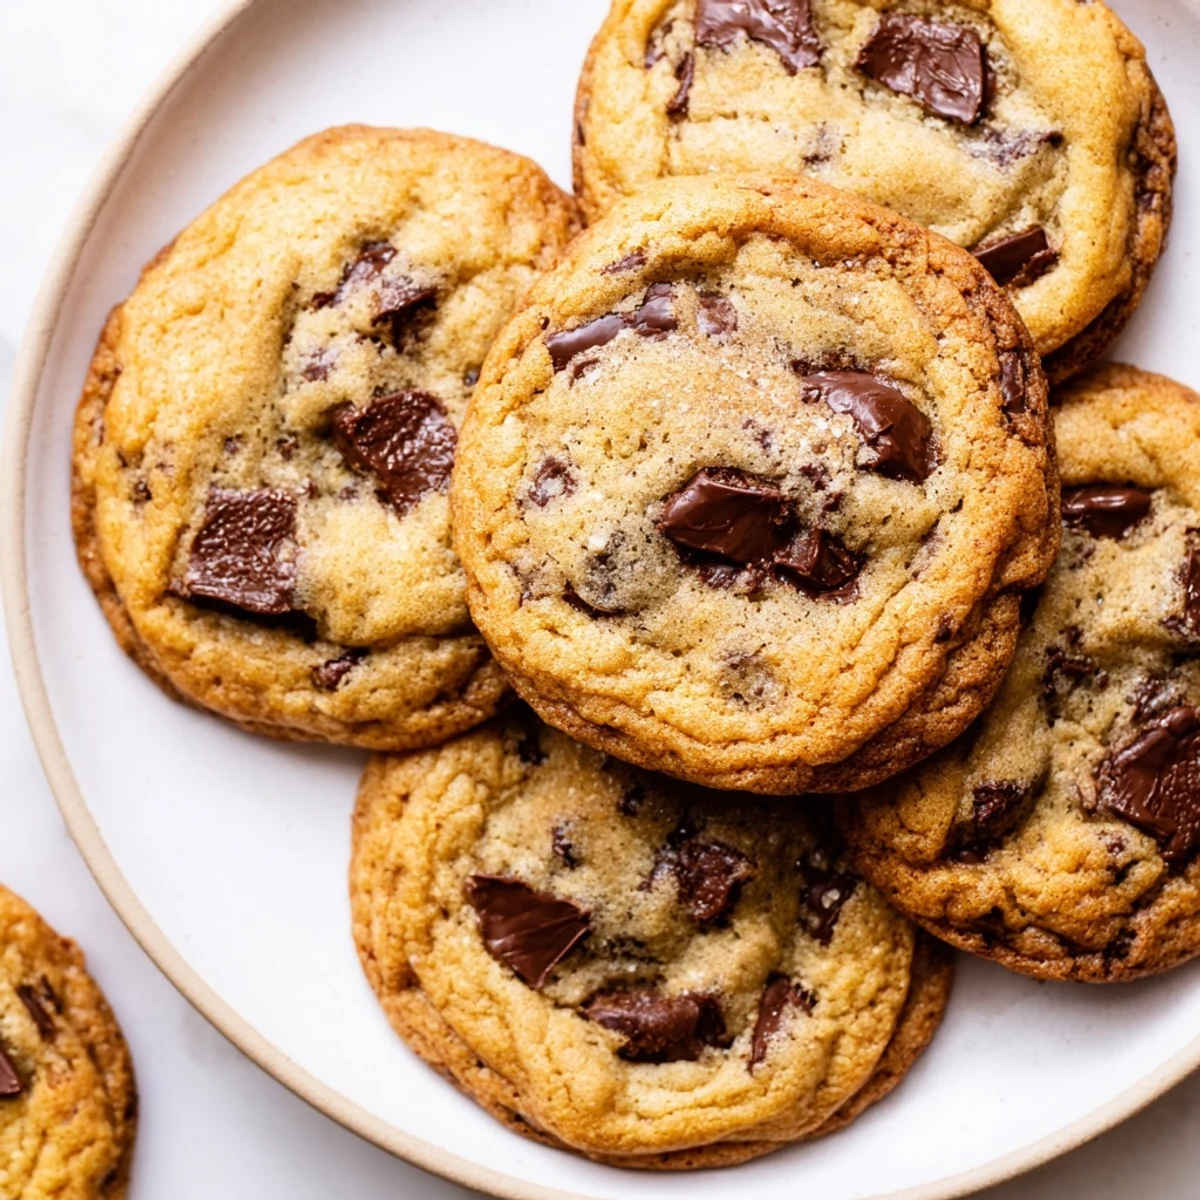
Once you master the base dough, this recipe becomes a canvas for whatever you are craving. Swap half the chocolate chips for chopped walnuts or pecans if you want crunch and earthiness. Try a mix of milk and dark chocolate chunks instead of standard chips for a more bakery style result. A generous pinch of flaky sea salt pressed into the top of each cookie right before baking transforms them into something that tastes like it came from a fancy pastry shop.
Keeping and Storing Cookies
Store cooled cookies in an airtight container at room temperature and they stay chewy for about five days, though they rarely last that long in my house. You can also freeze the scooped dough balls on a sheet pan, then transfer them to a freezer bag for impromptu fresh baked cookies whenever the mood strikes. Bake frozen dough balls straight from the freezer, adding just one or two extra minutes to the baking time.
- A slice of bread tucked into the cookie container keeps them soft by adding moisture back into the air around them.
- Label your frozen dough with the date and baking temperature so future you does not have to guess.
- Always let cookies cool completely before storing, because trapped warmth creates condensation and soggy bottoms.
 Pin It
 There is a reason chocolate chip cookies are universally loved, and this version earns its place at the top of the list. Bake a batch this weekend and watch how quickly an empty kitchen fills with people.
Recipe FAQs
- → Why chill the dough before baking?
-
Chilling the dough for at least one hour allows the flavors to develop and prevents excessive spreading during baking. This results in thicker, chewier cookies with a richer taste profile.
- → How do I know when cookies are done?
-
The cookies are ready when the edges are golden brown but the centers still look slightly soft and underbaked. They'll continue cooking on the hot baking sheet during the 5-minute cooling period.
- → Can I freeze the cookie dough?
-
Yes, scoop the dough into balls and freeze on a baking sheet before transferring to a sealed container. Bake frozen dough balls for 2-3 minutes longer than the original time.
- → What makes cookies chewy versus crispy?
-
Using brown sugar creates moisture and chewiness, while granulated sugar contributes to crisp edges. The butter-to-sugar ratio and slightly underbaking also ensure that perfect chewy texture.
- → Can I use different types of chocolate?
-
Absolutely. Try mixing milk and dark chocolate chips, or use chopped chocolate bars for larger melting pockets. White chocolate or peanut butter chips also work wonderfully in this base.